
")
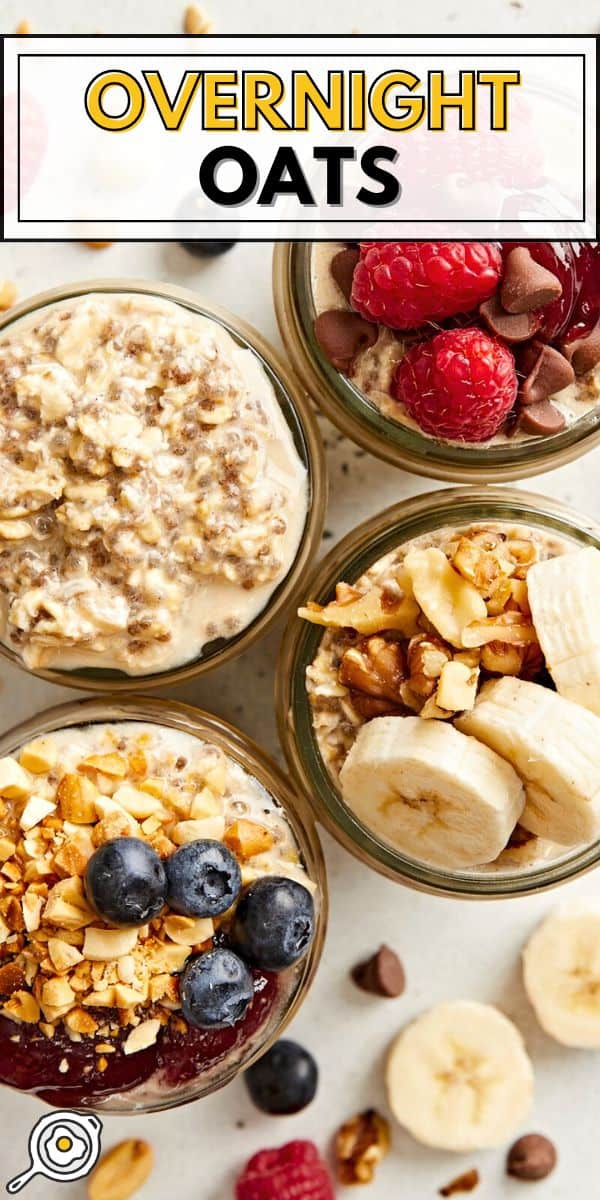
Overnight Oats are the ultimate introduction to budget-friendly meal prep! With the busy lives we all lead, it’s hard to fit in time for breakfast before rushing out the door, but this no-cook recipe is the magical solution, trust me! My overnight oats base recipe is absolutely delicious as-is but is also the perfect vessel for your favorite toppings. And don’t worry if you’re not feeling particularly creative; I’ve shared 3 of my favorite flavor variations below.
I must confess: I almost always skip breakfast if I don’t plan ahead! Then, noon rolls around, and I am hangry. It’s not a good look—just ask my husband! That’s why having this overnight oatmeal in the fridge at all times is a MUST. Oats are full of fiber, which keeps me full until lunchtime, and I love the blank canvas to turn them into a unique treat, depending on my craving that day.
What Are Overnight Oats?
Think of overnight oats as the cooler, more convenient cousin of traditional oatmeal. Instead of cooking the oats on a stovetop or in a microwave, they soak overnight in liquid (usually milk) and soften to the perfect texture without heat. I also add brown sugar, chia seeds, and cinnamon to my base recipe to create a delicious, well-rounded breakfast. Mix it all in a mason jar and let it sit in the fridge overnight for a grab-and-go breakfast in the morning!
Here’s what you’ll need to make my easy overnight oats recipe:
- Oats: I use old-fashioned oats (also known as rolled oats) for my overnight oatmeal. Quick-cook oats and steel-cut oats don’t work as well, as they absorb liquid differently.
- Milk: I like to make mine with dairy-free milk, but I whipped these oats up a few times with whole milk, 2% milk, and almond milk, so I can tell you this recipe works no matter your preference!
- Brown Sugar: Adds just the right amount of sweetness.
- Cinnamon: You can also use a different spice depending on the toppings you’ll add—pumpkin pie spice, nutmeg, or whatever you like!
- Chia Seeds: At its core, overnight oats only require two ingredients: oats and milk. But I highly recommend adding chia seeds! They soak up liquid like crazy and create a chia oatmeal pudding-like texture. They’re also nutrient-dense, providing fiber, iron, and omega-3s.
- Salt: Just a pinch will enhance the other flavors.
- Toppings: Add any toppings you love to your jar! I’ve listed some of my favorites below, but you really can’t go wrong with any combination.
Are Overnight Oats Healthy?
Oats are a great source of fiber, protein, vitamins, and minerals! They’ll keep you full and satisfied for longer, making them a great breakfast option. Adding milk, chia seeds, fresh fruit, and nuts only adds to their nutritional value. You can leave out the brown sugar if you want to reduce the added sugar, but overall, overnight oats with chia seeds can definitely be considered a healthy choice!
- The perfect ratio for oats to milk is 1:1, in my opinion. I use ½ cup of oats and ½ cup of milk to make one serving. You don’t need to reduce the milk if you omit the chia seeds.
- Add fresh fruit just before eating to stop them from getting mushy. The same goes for granola or anything else you want to stay crunchy.
- Let the oats sit overnight (about 8 hours) for the best texture, but 15 minutes or so is okay if you’re in a hurry. This is enough time for the chia seeds to absorb some liquid and for the oats to soften slightly.
- Overnight oats are meant to be enjoyed cold, but you can absolutely heat them up if you prefer a warm breakfast. 60-90 seconds in a microwave-safe container should do the trick!
how long do overnight oats last?
These oats can last in the fridge for 4-5 days, making them great for meal-prepping. I prefer enjoying them within 12 hours for the best texture, but they’ll still taste good after a few days—maybe just a bit softer. Store them in an airtight container to keep them fresh, and don’t add any toppings until you’re ready to eat them.
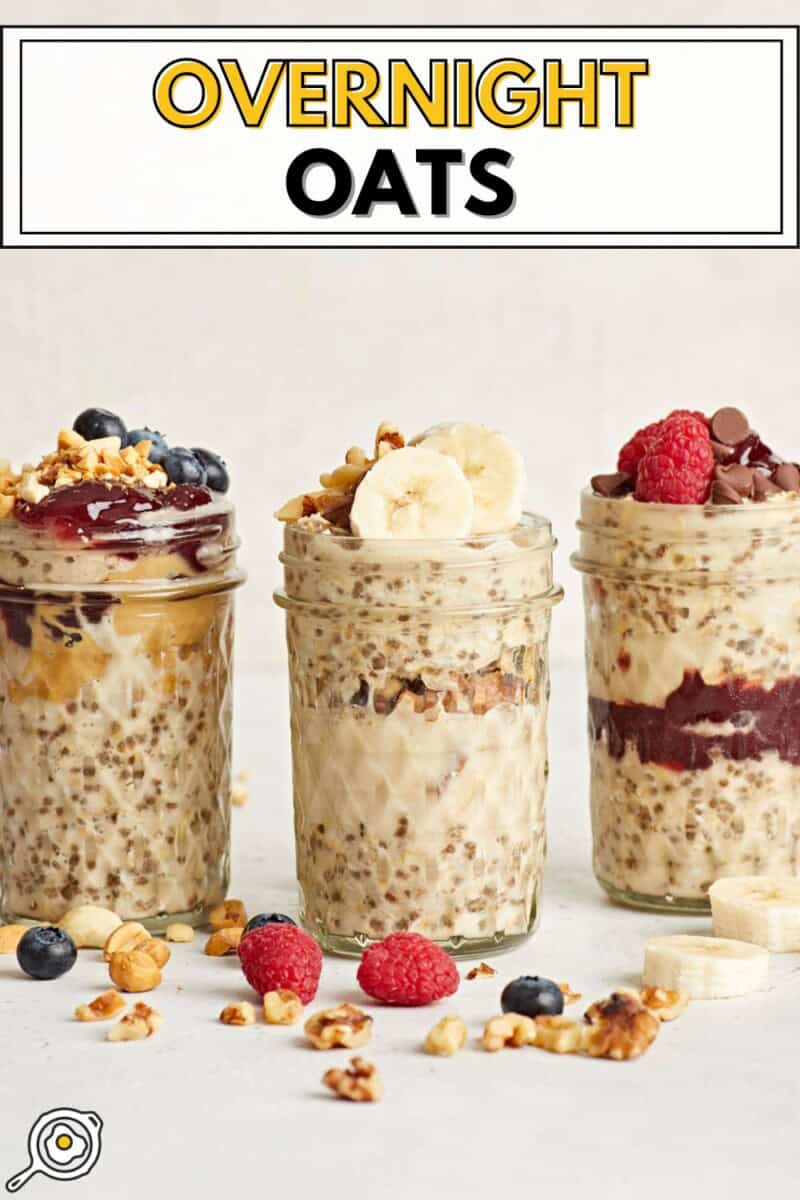
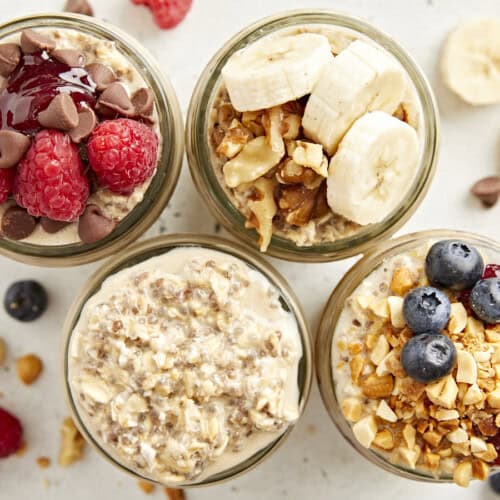
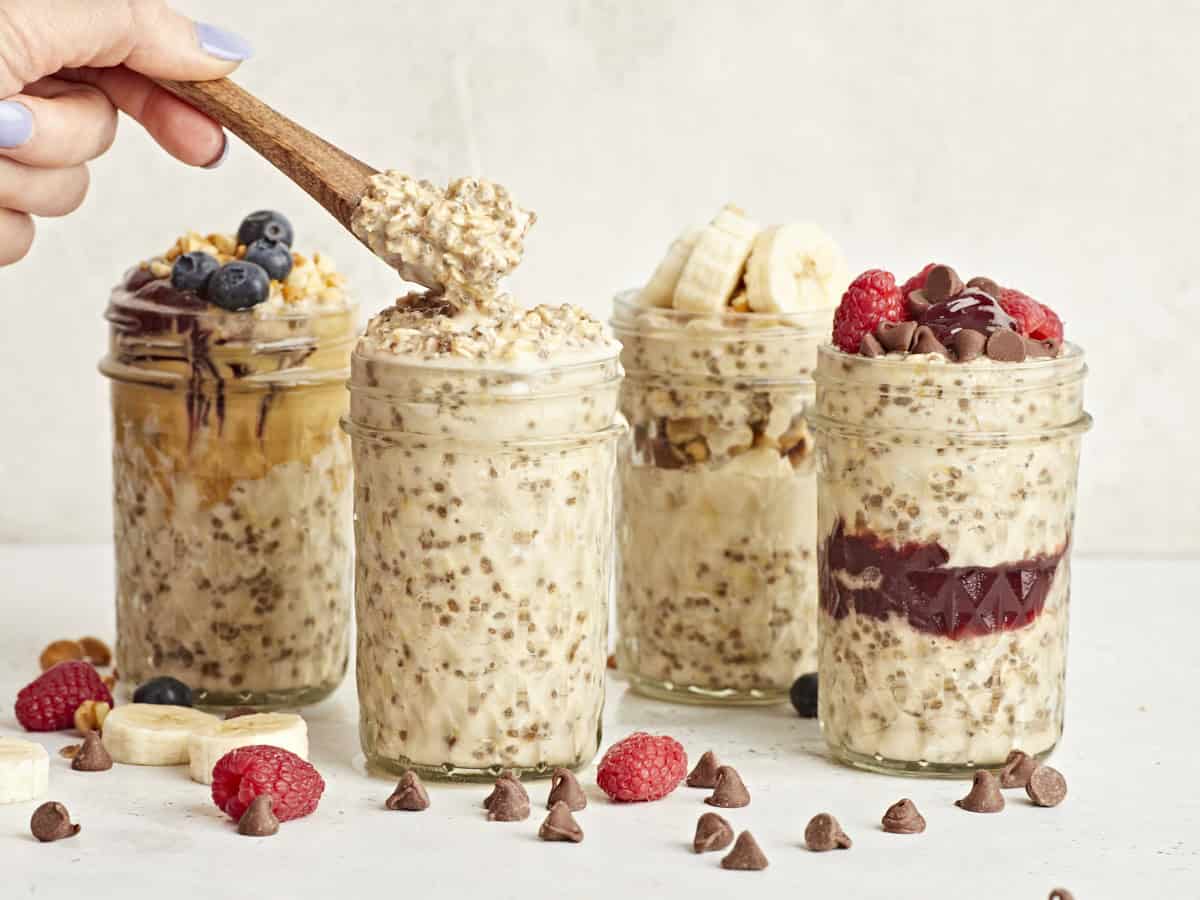
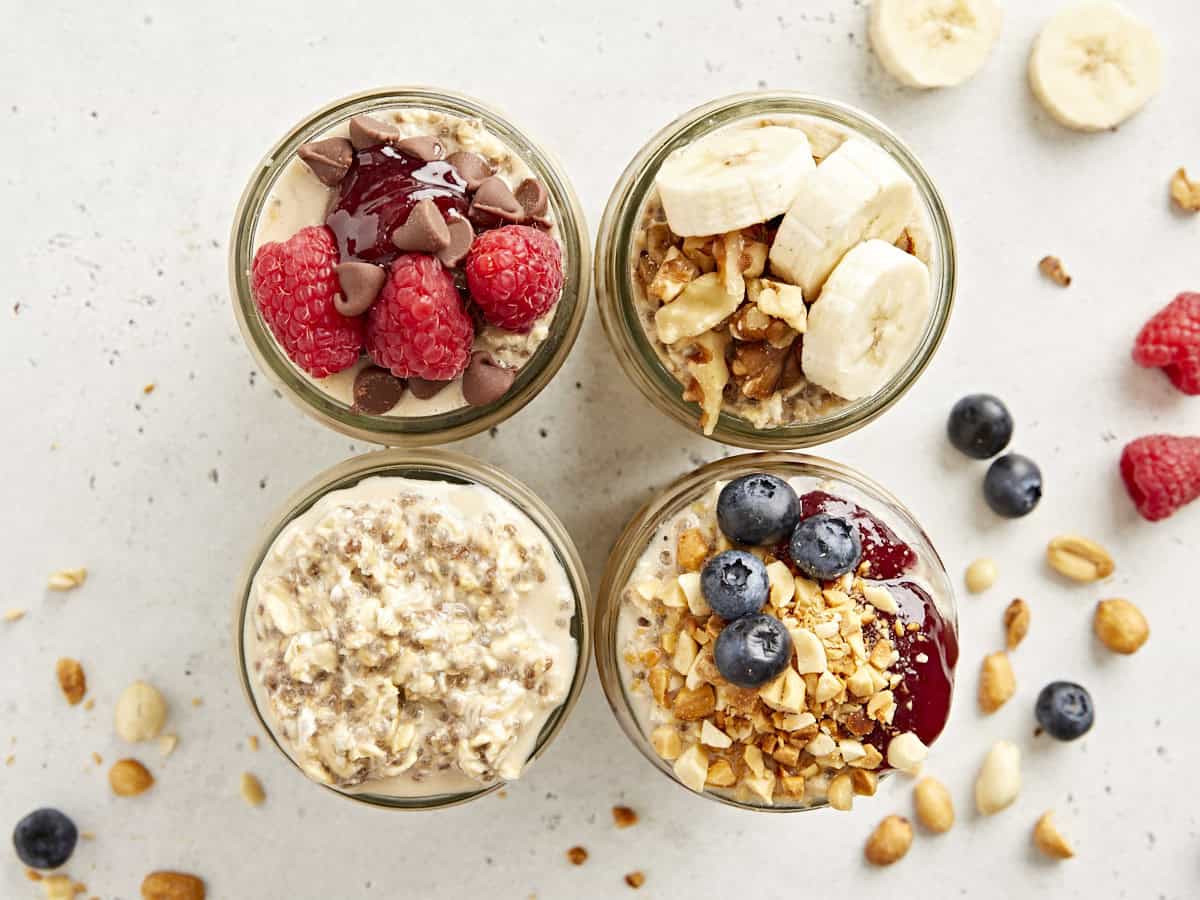
Overnight Oats Variations
I am super picky when it comes to my oatmeal: 1. I want a lot of varied textures, 2. I want it to be nutrient-dense and have healthy components, and 3. It has to come together FAST! These flavor variations check everything off my list:
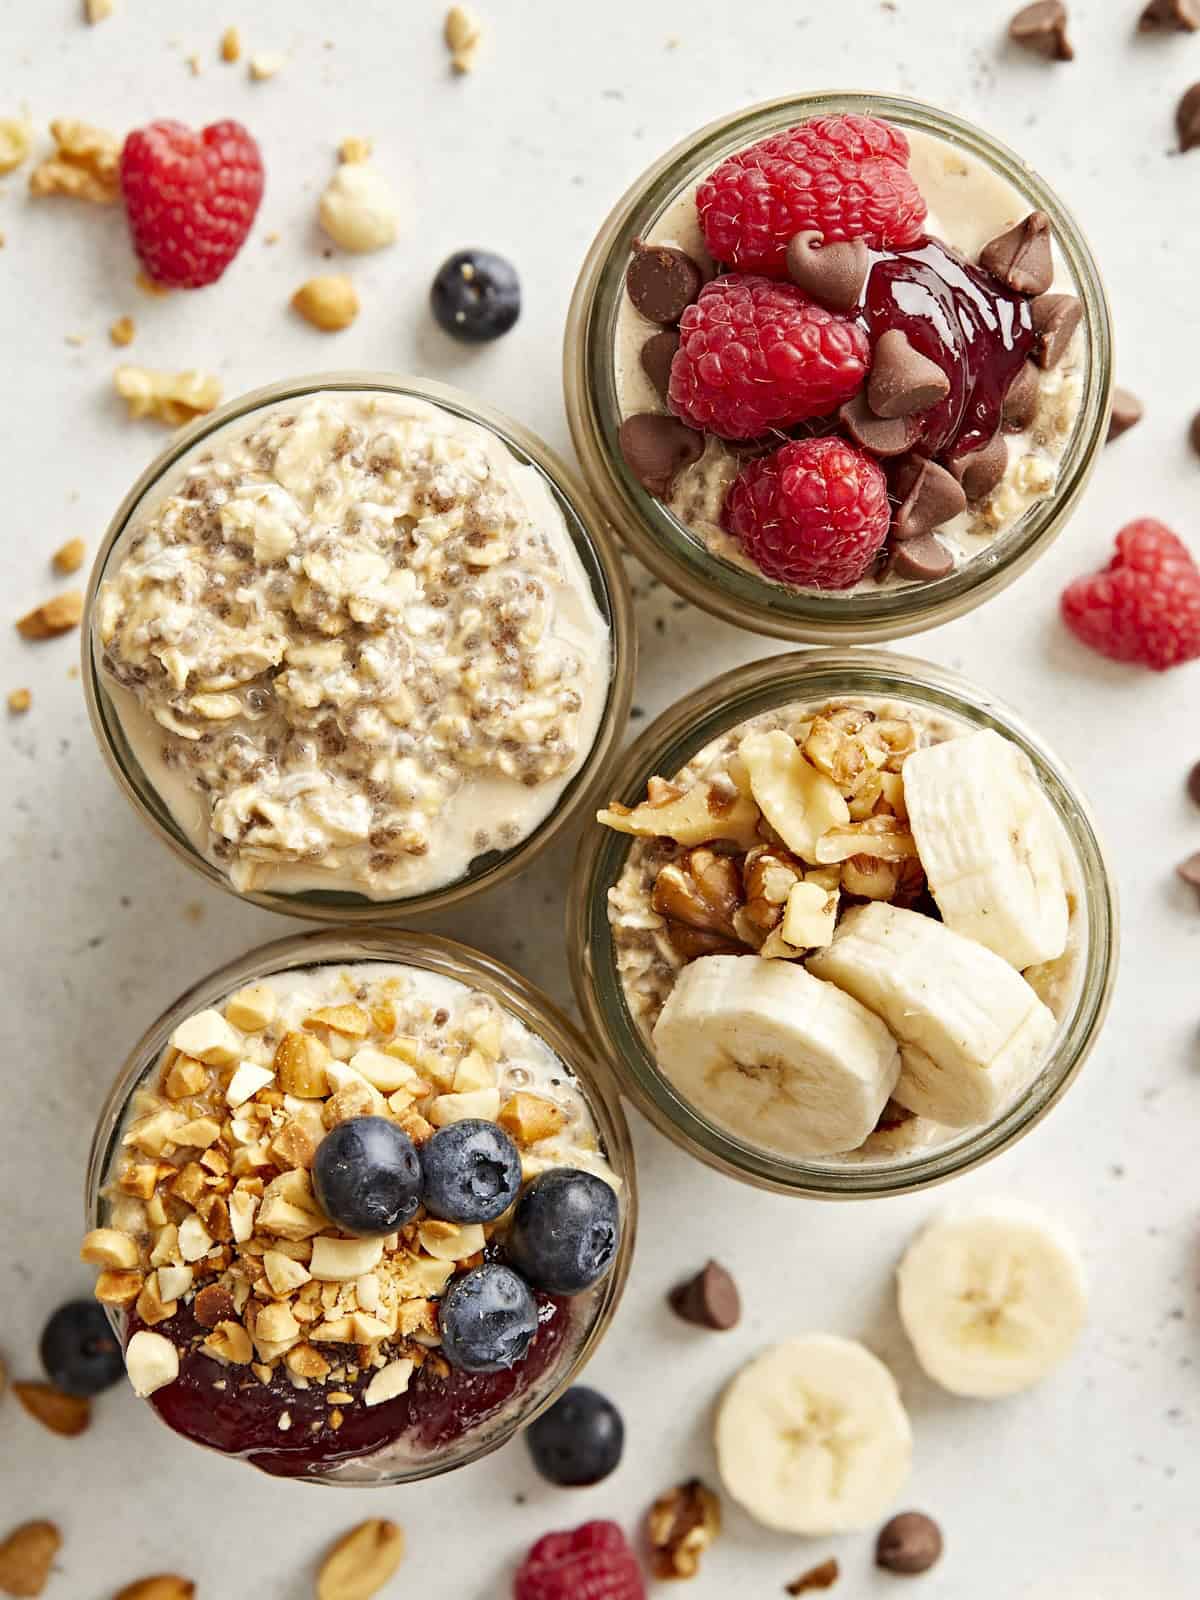
Peanut BUTTER and Jelly
Your childhood favorite gets an upgrade with my peanut butter and jelly overnight oat recipe. I layer blueberry jam with crunchy peanut butter AND peanuts for extra crunch. Add a few fresh blueberries and you’re good to go!
Chocolate Raspberry
Will chocolate and fresh berries ever not be a match made in heaven? I don’t think so. You only need some raspberry jam, dark chocolate chips, and fresh raspberries to make a breakfast that tastes just like dessert.
Banana Walnut
Banana bread is my go-to coffee shop snack, so I always have an overnight oat version in the fridge. Simply mix in some walnuts and add sliced bananas on top for a delicious and satisfying breakfast that’ll keep you feeling full all morning!

Overnight Oats (Base Recipe plus Variations)
These easy Overnight Oats are the ultimate introduction to budget-friendly meal prep. They’re no-cook, ideal for on-the-go, and customizable!
Prevent your screen from going dark
Overnight Oats Base Recipe
- ½ cup old fashioned oats ($0.82)
- ½ cup milk ($0.09)
- ½ Tbsp brown sugar* ($0.04)
- ⅛ tsp cinnamon ($0.01)
- ½ Tbsp chia seeds ($0.07)
- pinch of salt ($0.01)
Peanut Butter and Jelly Variation (total: $1.93 per serving)
- base recipe ($1.04)
- 1 tsp blueberry jam ($0.04)
- 1 Tbsp peanuts ($0.10)
- 1 Tbsp crunchy peanut butter ($0.49)
- a few blueberries, if desired ($0.23)
Chocolate Raspberry Variation (total: $1.56 per serving)
- base recipe ($1.04)
- 1 tsp red raspberry jam ($0.04)
- 1 Tbsp dark chocolate chips ($0.11)
- a few raspberries, if desired ($0.34)
Banana Walnut Variation (total: $1.42 per serving)
- base recipe ($1.04)
- 1 Tbsp walnuts ($0.29)
- ⅓ of a banana, diced ($0.09)
-
Combine old fashioned oats, brown sugar, cinnamon, chia seeds, and salt in an 8 oz. Mason Jar.
-
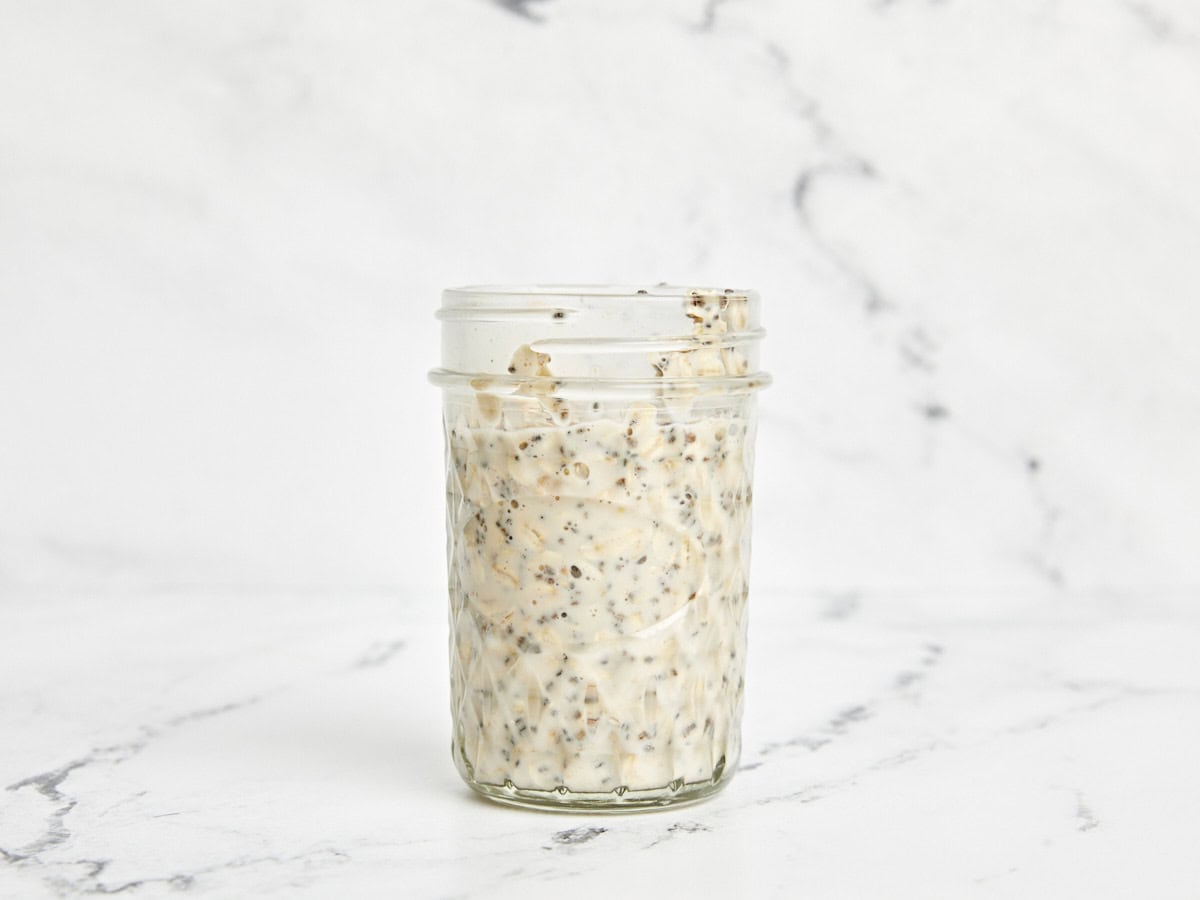
Pour in milk.
-
Stir or shake to combine, making sure all ingredients are mixed in evenly to avoid clumps of chia or brown sugar.
-
Put the lid onto your mason jar and place it in the fridge.
-
Refrigerate for 15 minutes or up to 12 hours before enjoying.
See how we calculate recipe costs here.
*If you don’t want added sugar, skip it! The ratios in this recipe come out great with or without the brown sugar.
Serving: 18 oz jar (base recipe only)Calories: 302kcalCarbohydrates: 48gProtein: 10gFat: 8gSodium: 344mgFiber: 6g
Read our full nutrition disclaimer here.
how to make Overnight Oats – step by step photos
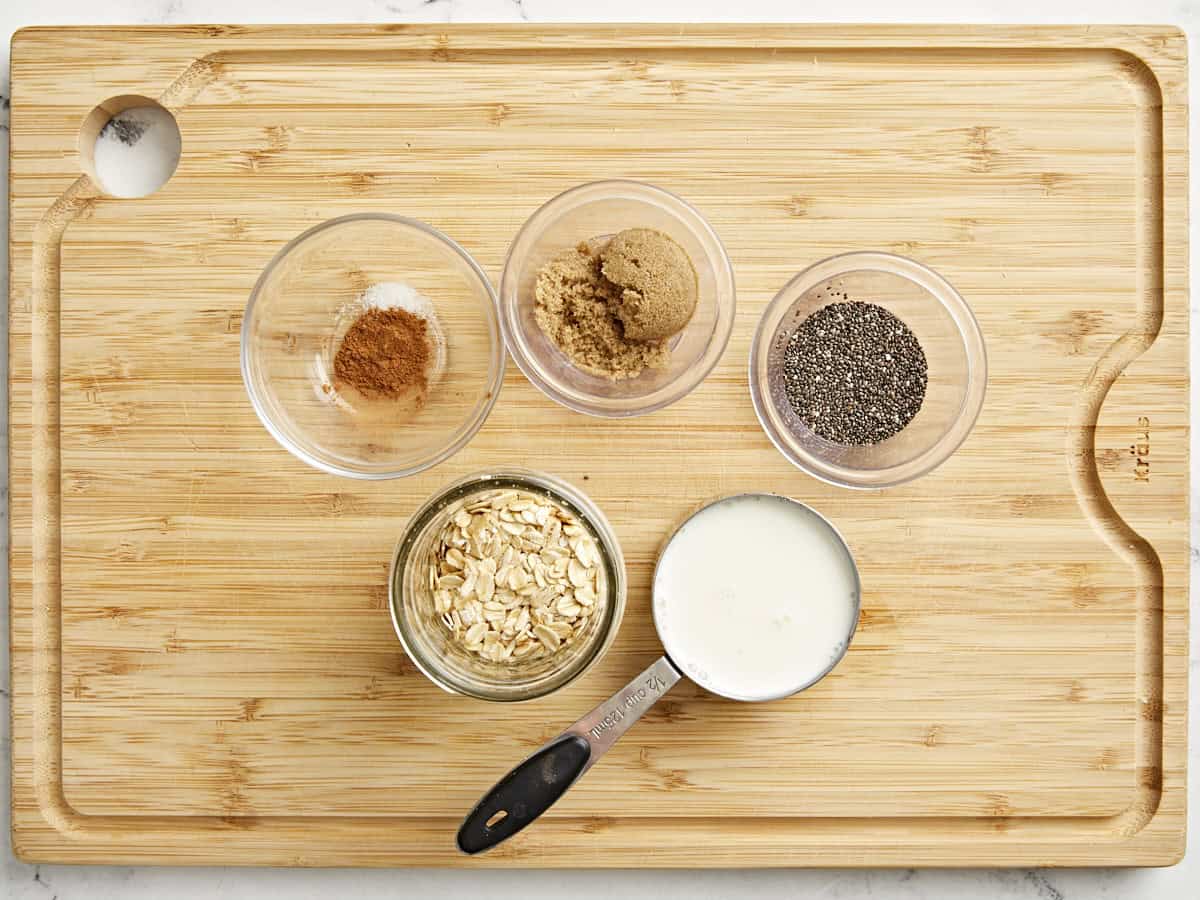
Combine ½ cup old fashioned oats, 1/2 Tbsp brown sugar, ⅛ tsp cinnamon, ½ Tbsp chia seeds, and a pinch of salt in an 8 oz. Mason Jar.
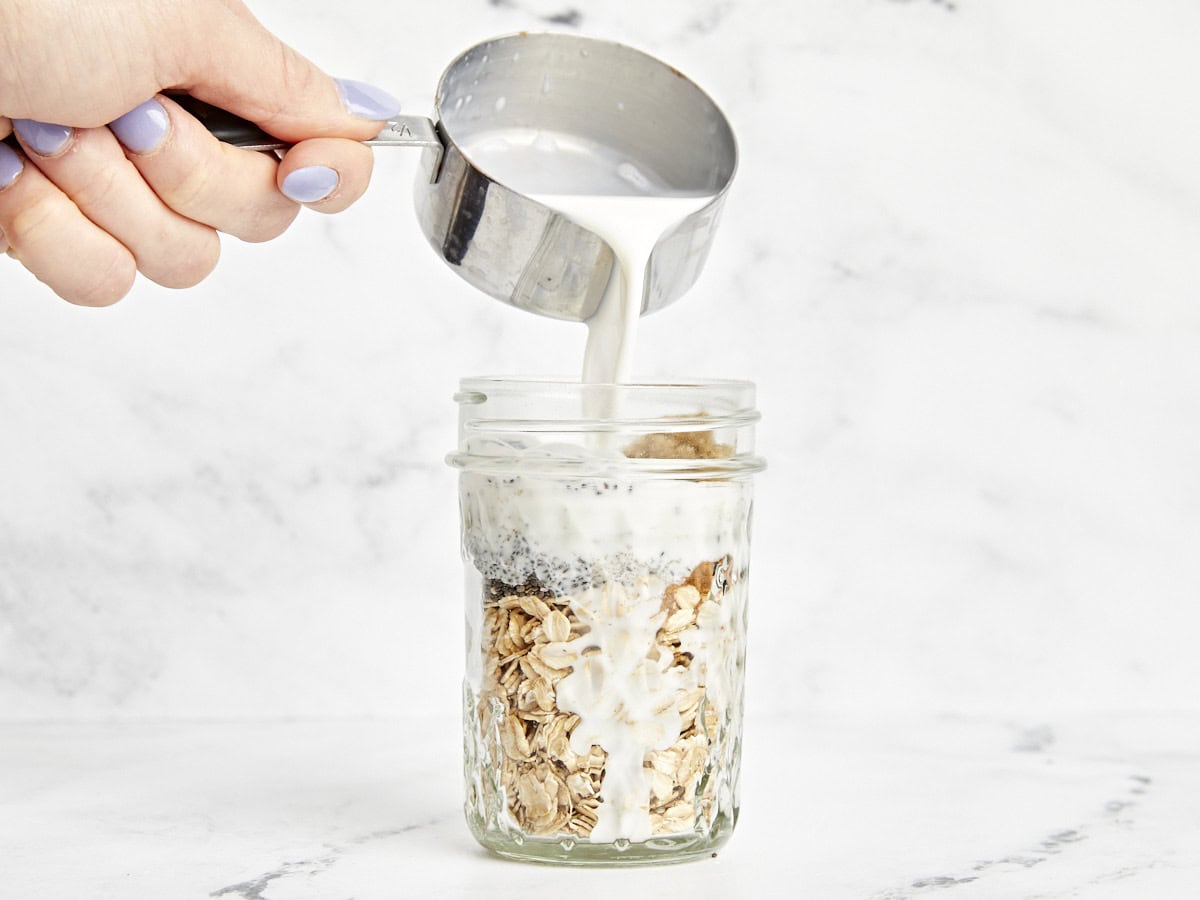
Pour in ½ cup milk.
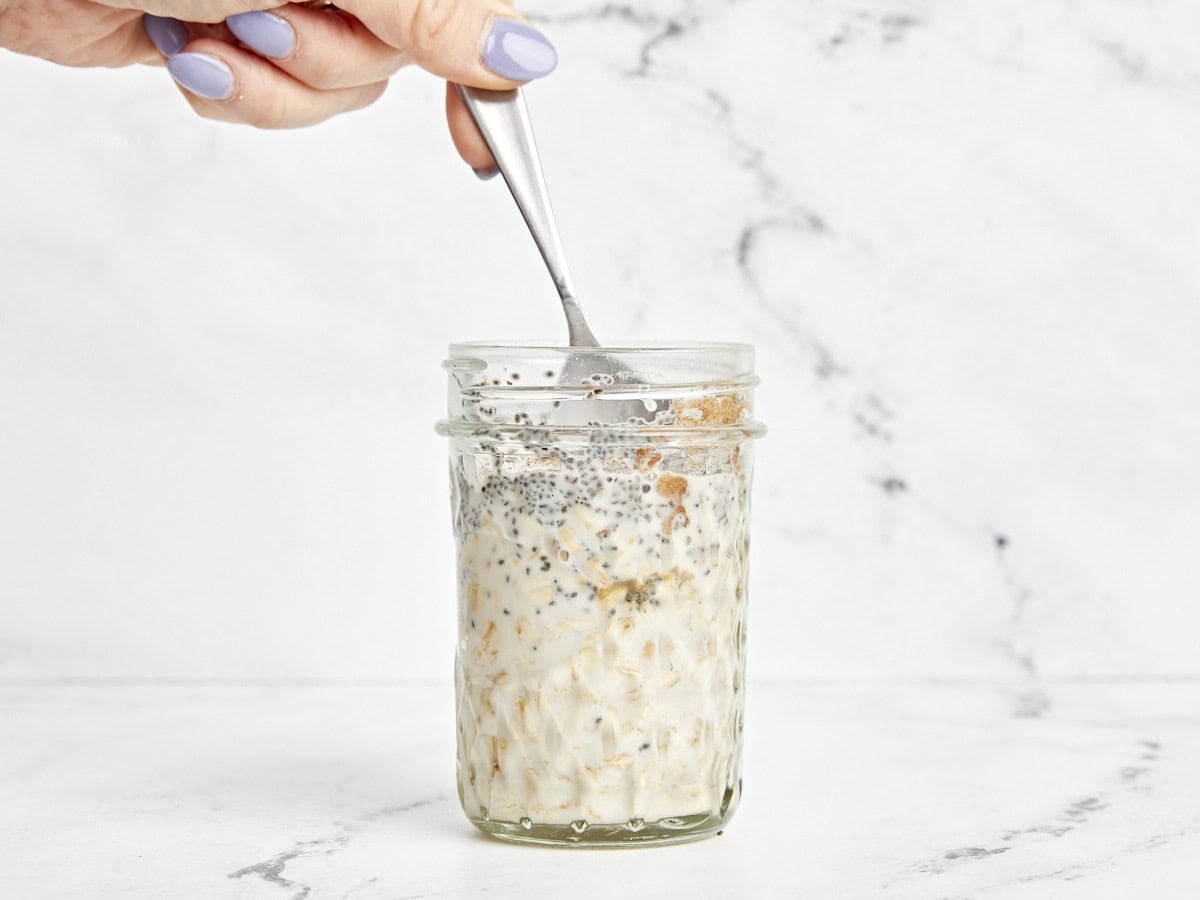
Stir or shake to combine, making sure all ingredients are mixed in evenly to avoid clumps of chia or brown sugar.
Put the lid onto your mason jar and place it in the fridge.
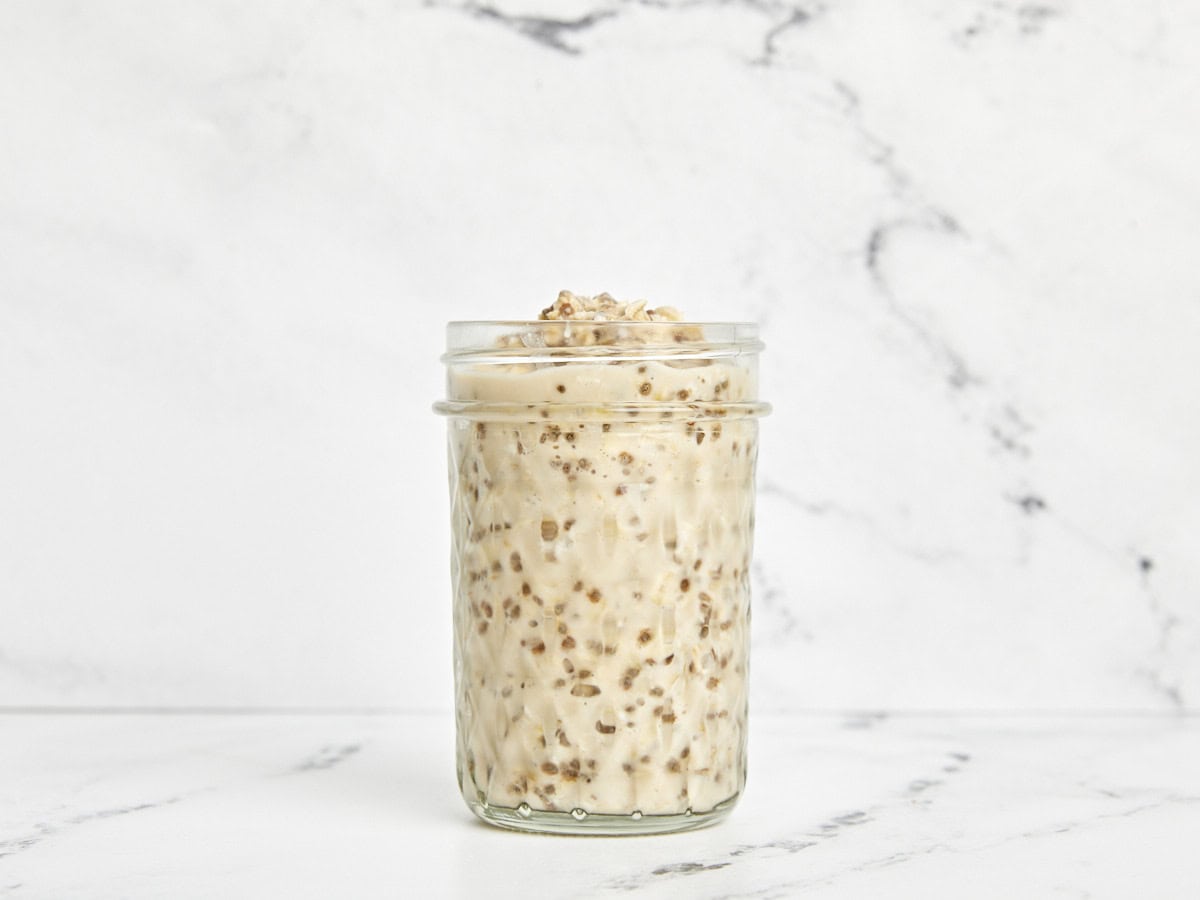
Refrigerate for 15 minutes or up to 12 hours before enjoying.
Never skip breakfast again with this easy and satisfying recipe for overnight oats!