

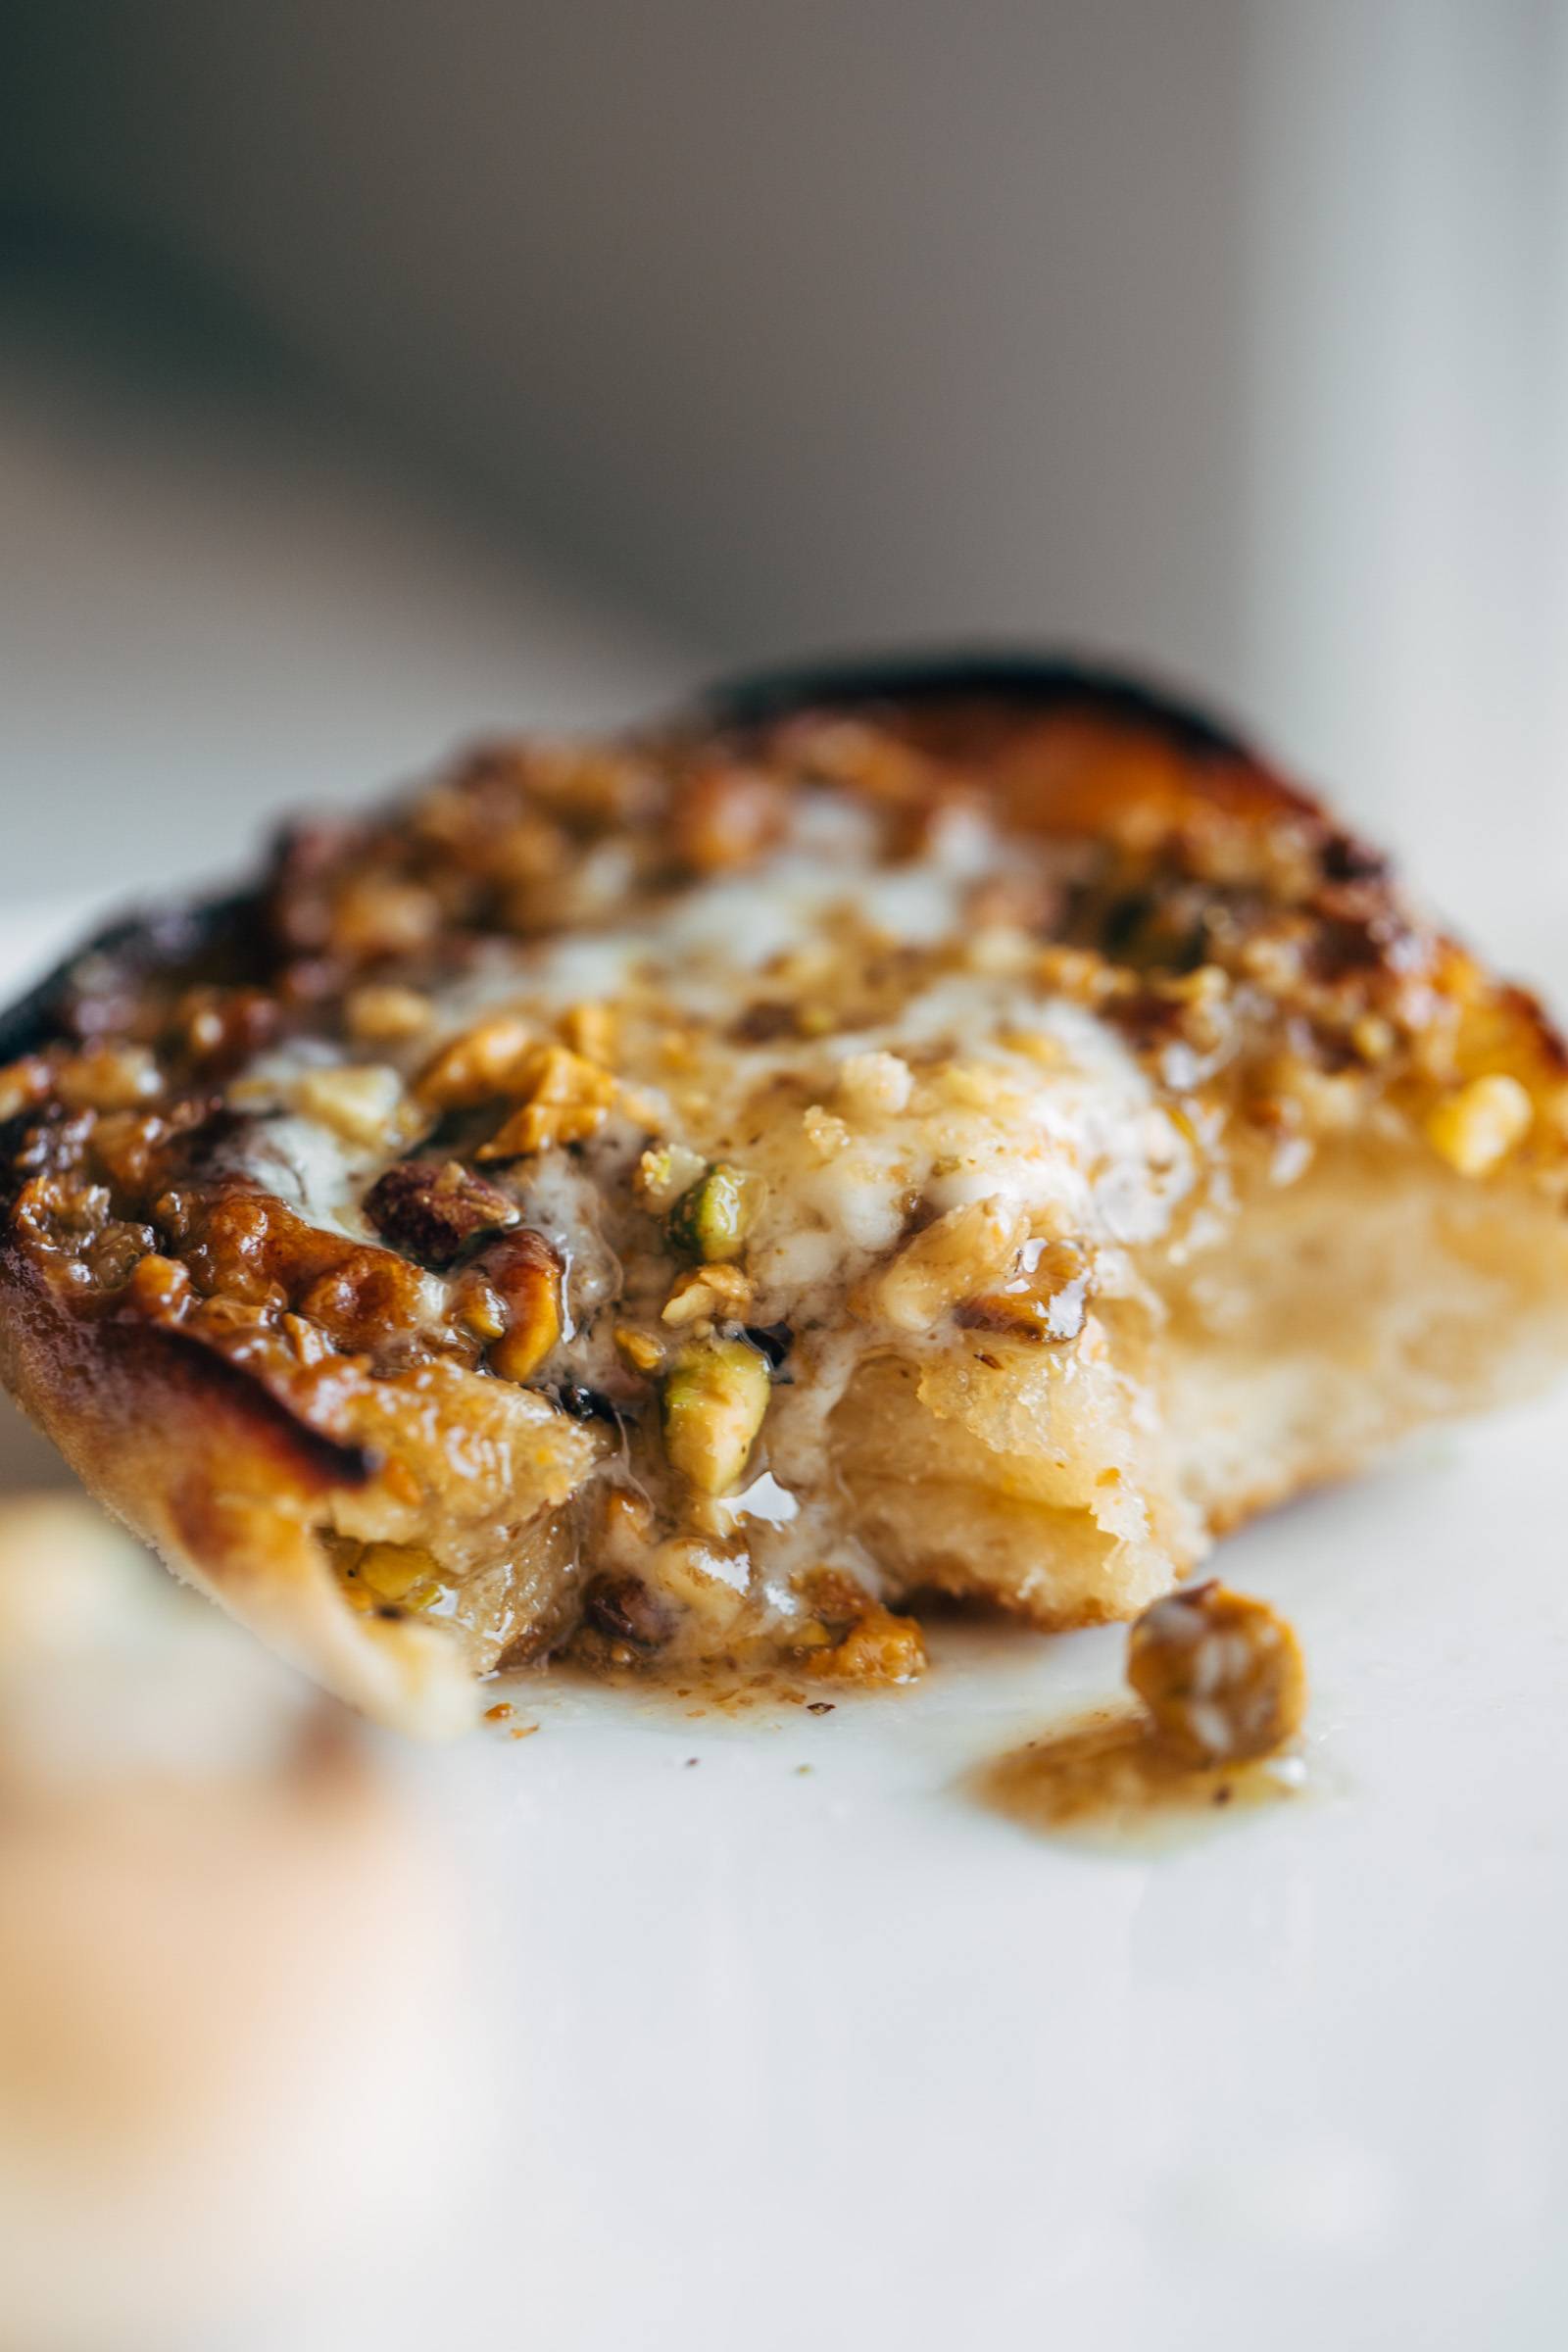
Perfectly toasted English muffins get topped with an extra thick, extra chunky crispy-chewy nutty sugary topping. Absolutely heavenly and works for breakfast, snack, or as an after-dinner treat.
Yes, it seems weird, but toasted English muffins loaded with a pistachio-walnut-butter-brown-sugar mixture and broiled to caramelized perfection is straight from the heavens. Add a little mascarpone cheese, a little drizzle of honey, and this is my breakfast (snack? dessert?) lifestyle right now.
English Muffin Baklava
Lindsay’s Notes
I saw this idea in a Taste of Home magazine that my mother-in-law gave me and I basically turned around and made it five minutes later. It’s one of those recipes where you go, “Hey, that’s a good idea! And I have everything I need!” Which means you can make it fast, and repeatedly. Which is exactly what I did – correction – still am doing.
You toast your English muffins, stir up your nuts and butter and brown sugar, top it all with the mascarpone cheese and honey… and now this is just how we live. WHAT IN THE WORLD! It’s so delightful. Nutty, buttery, crunchy, and slightly caramelized but also has a creamy sauciness from the melty mascarpone and honey. All on the exceptionally textured, crispy-chewy surface of an English muffin.
It’s a perfect breakfast, afternoon coffee break snack, or after-dinner dessert. Love it for all of the above.
I made a few changes to the recipe as it was in the magazine – for example, I toasted my English muffins before and after adding the nut mixture. I used a higher nut-to-butter ratio to make sure that the nut layer was extra thick and chunky, and I changed the serving size to 3 pieces. Do we approve?
Mascarpone is not a normal ingredient in baklava so I was a little skeptical of how that would play here, but it was awesome. You don’t need much more buttery-ness with the nuts and butter already in there, but having a creamy element helped to tone down some of the sweetness of the nut filling and the honey drizzle. It was just heavenly to bite into.
How To Make This Little Delight
Step 1:
Mix up some softened butter, ground up pistachios, walnuts, and brown sugar.

Step 2:
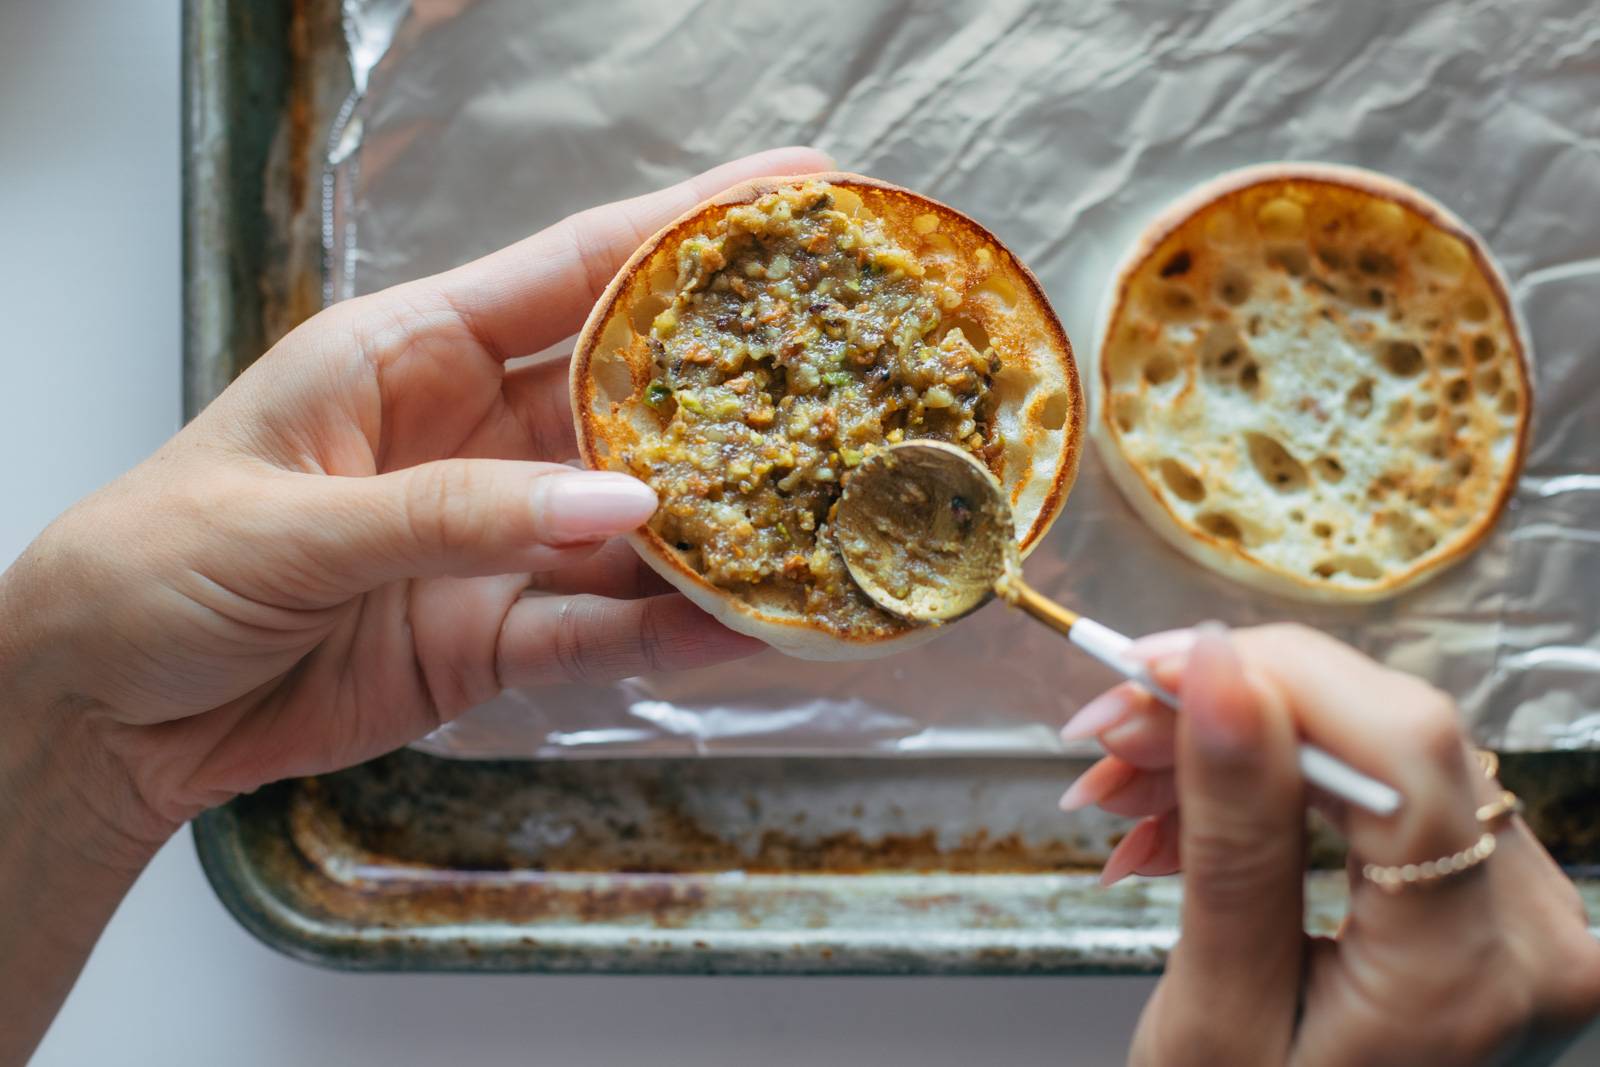
Toast your English muffins under the broiler.
Then spread them with the nut mixture and return to the broiler for one more minute until bubbly and slightly set. Watch them carefully because they will burn!
Step 3:
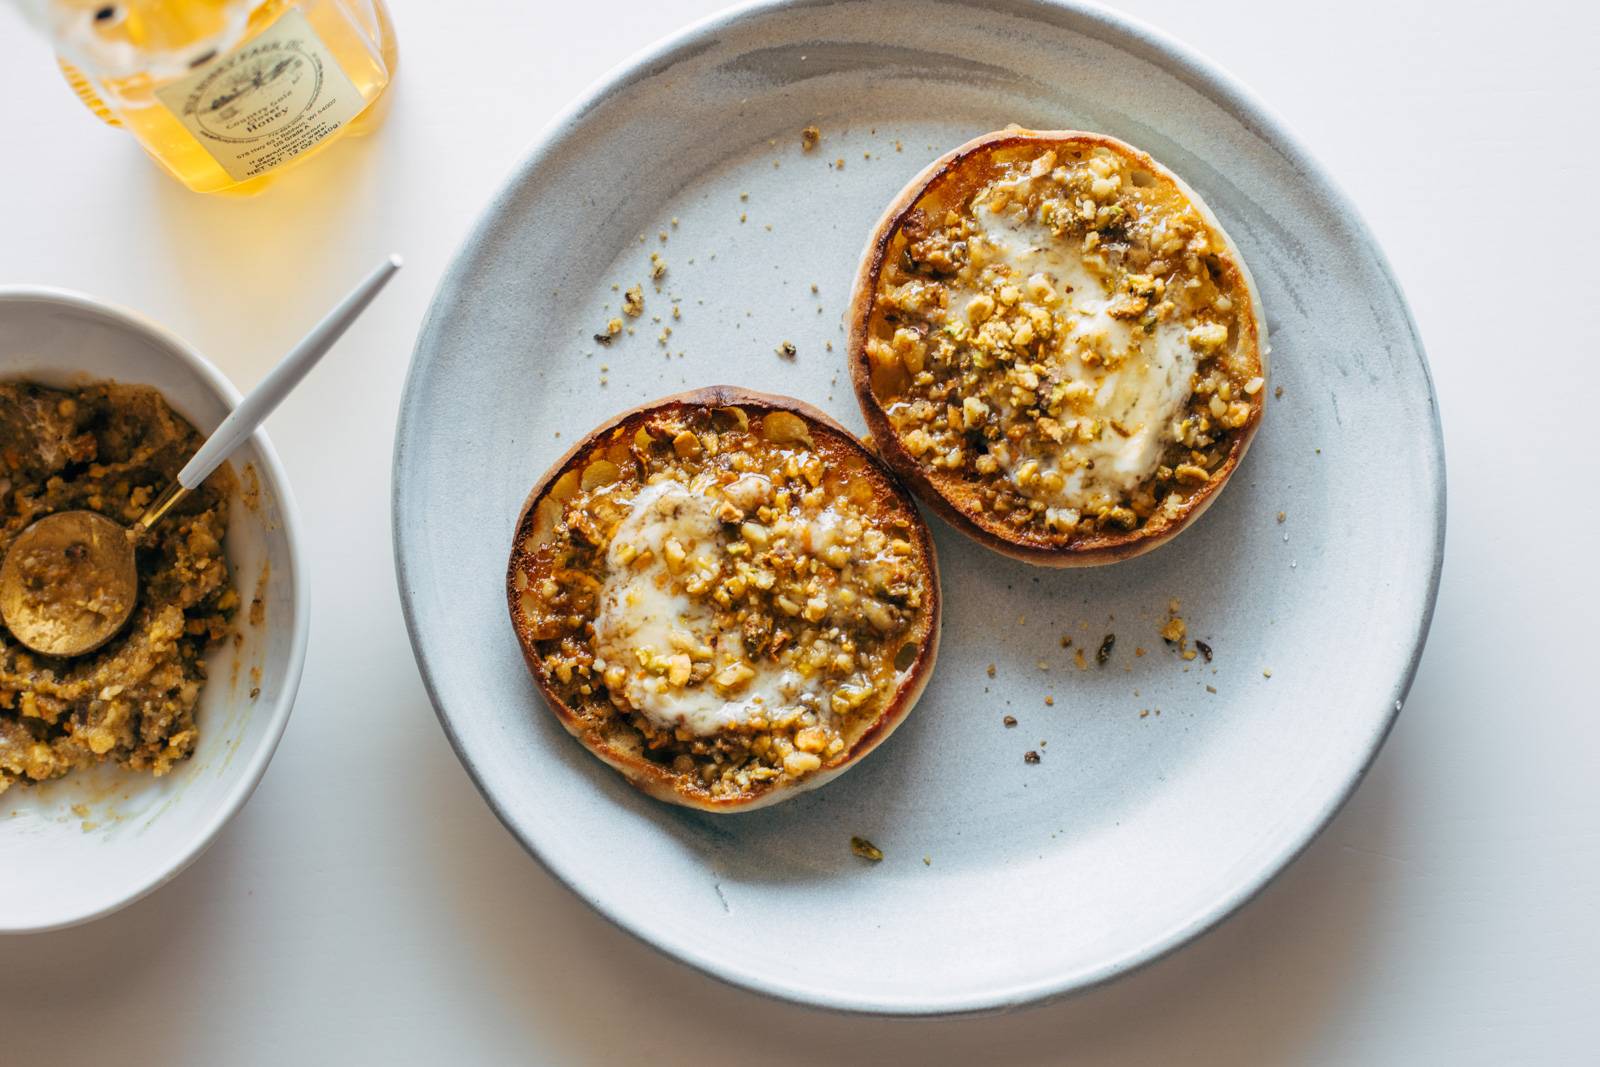
Top with mascarpone cheese, honey, and more nuts! So amazing.
Watch How To Make This Recipe
More Ways To Love Pistachios
Description
Perfectly toasted English muffins get topped with an extra thick, extra chunky crispy-chewy nutty sugary topping. Absolutely heavenly and works for breakfast, snack, or as an after-dinner treat.
Pistachio Walnut Mixture:
Other:
- Preheat the broiler – I use the “Low Broil” setting but every oven will be different for which setting works best.
- Pulse the nuts in a food processor until finely chopped. Set aside a few spoonfuls of the nuts for topping. Mix the remaining nuts, butter, and brown sugar together in a small bowl.
- Toast the English muffins on a baking sheet lined with foil until toasty – about 3 minutes.
- Spread English muffins with the nutty butter mixture. Return to the oven, a few inches away from the broiler, for 1 minute or until bubbly and slightly caramelized.
- Top with a little baby dollop of mascarpone cheese and give it a gentle swoop to melt it in. Finish with extra nuts and honey. Pour yourself a cup of coffee to go with it. OMG, it’s so good!
- Prep Time: 5 minutes
- Cook Time: 5 minutes
- Category: Breakfast
- Method: Broil
- Cuisine: Middle Eastern-Inspired
Keywords: baklava english muffin, baklava on english muffin, english muffin snack
Frequently Asked Questions For English Muffin Baklava
You could easily make this on any kind of toasted bread – or maybe even crackers?! Yum!
I usually make it all at once, but the nut mixture should last a day or two in the fridge – the texture might just change a little as the nuts soften.
Use a gluten-free English muffin for a gluten-free version! Use dairy-free butter and skip the mascarpone cheese for a dairy-free version.
A kitchen torch might be a bit intense for a little snack like this, but it would definitely work to toast and caramelize the topping! A toaster oven would also work great.
The use of pistachios and walnuts, butter, and honey gives it a texture and a flavor that is reminiscent of baklava! Not the same thing by any means – baklava is a very involved, multi-layered, multi-textured dessert made with phyllo (it’s epic). But this is like the budget version for those of us who just want the taste of it in a quick breakfast or snack. 🙂


")
")