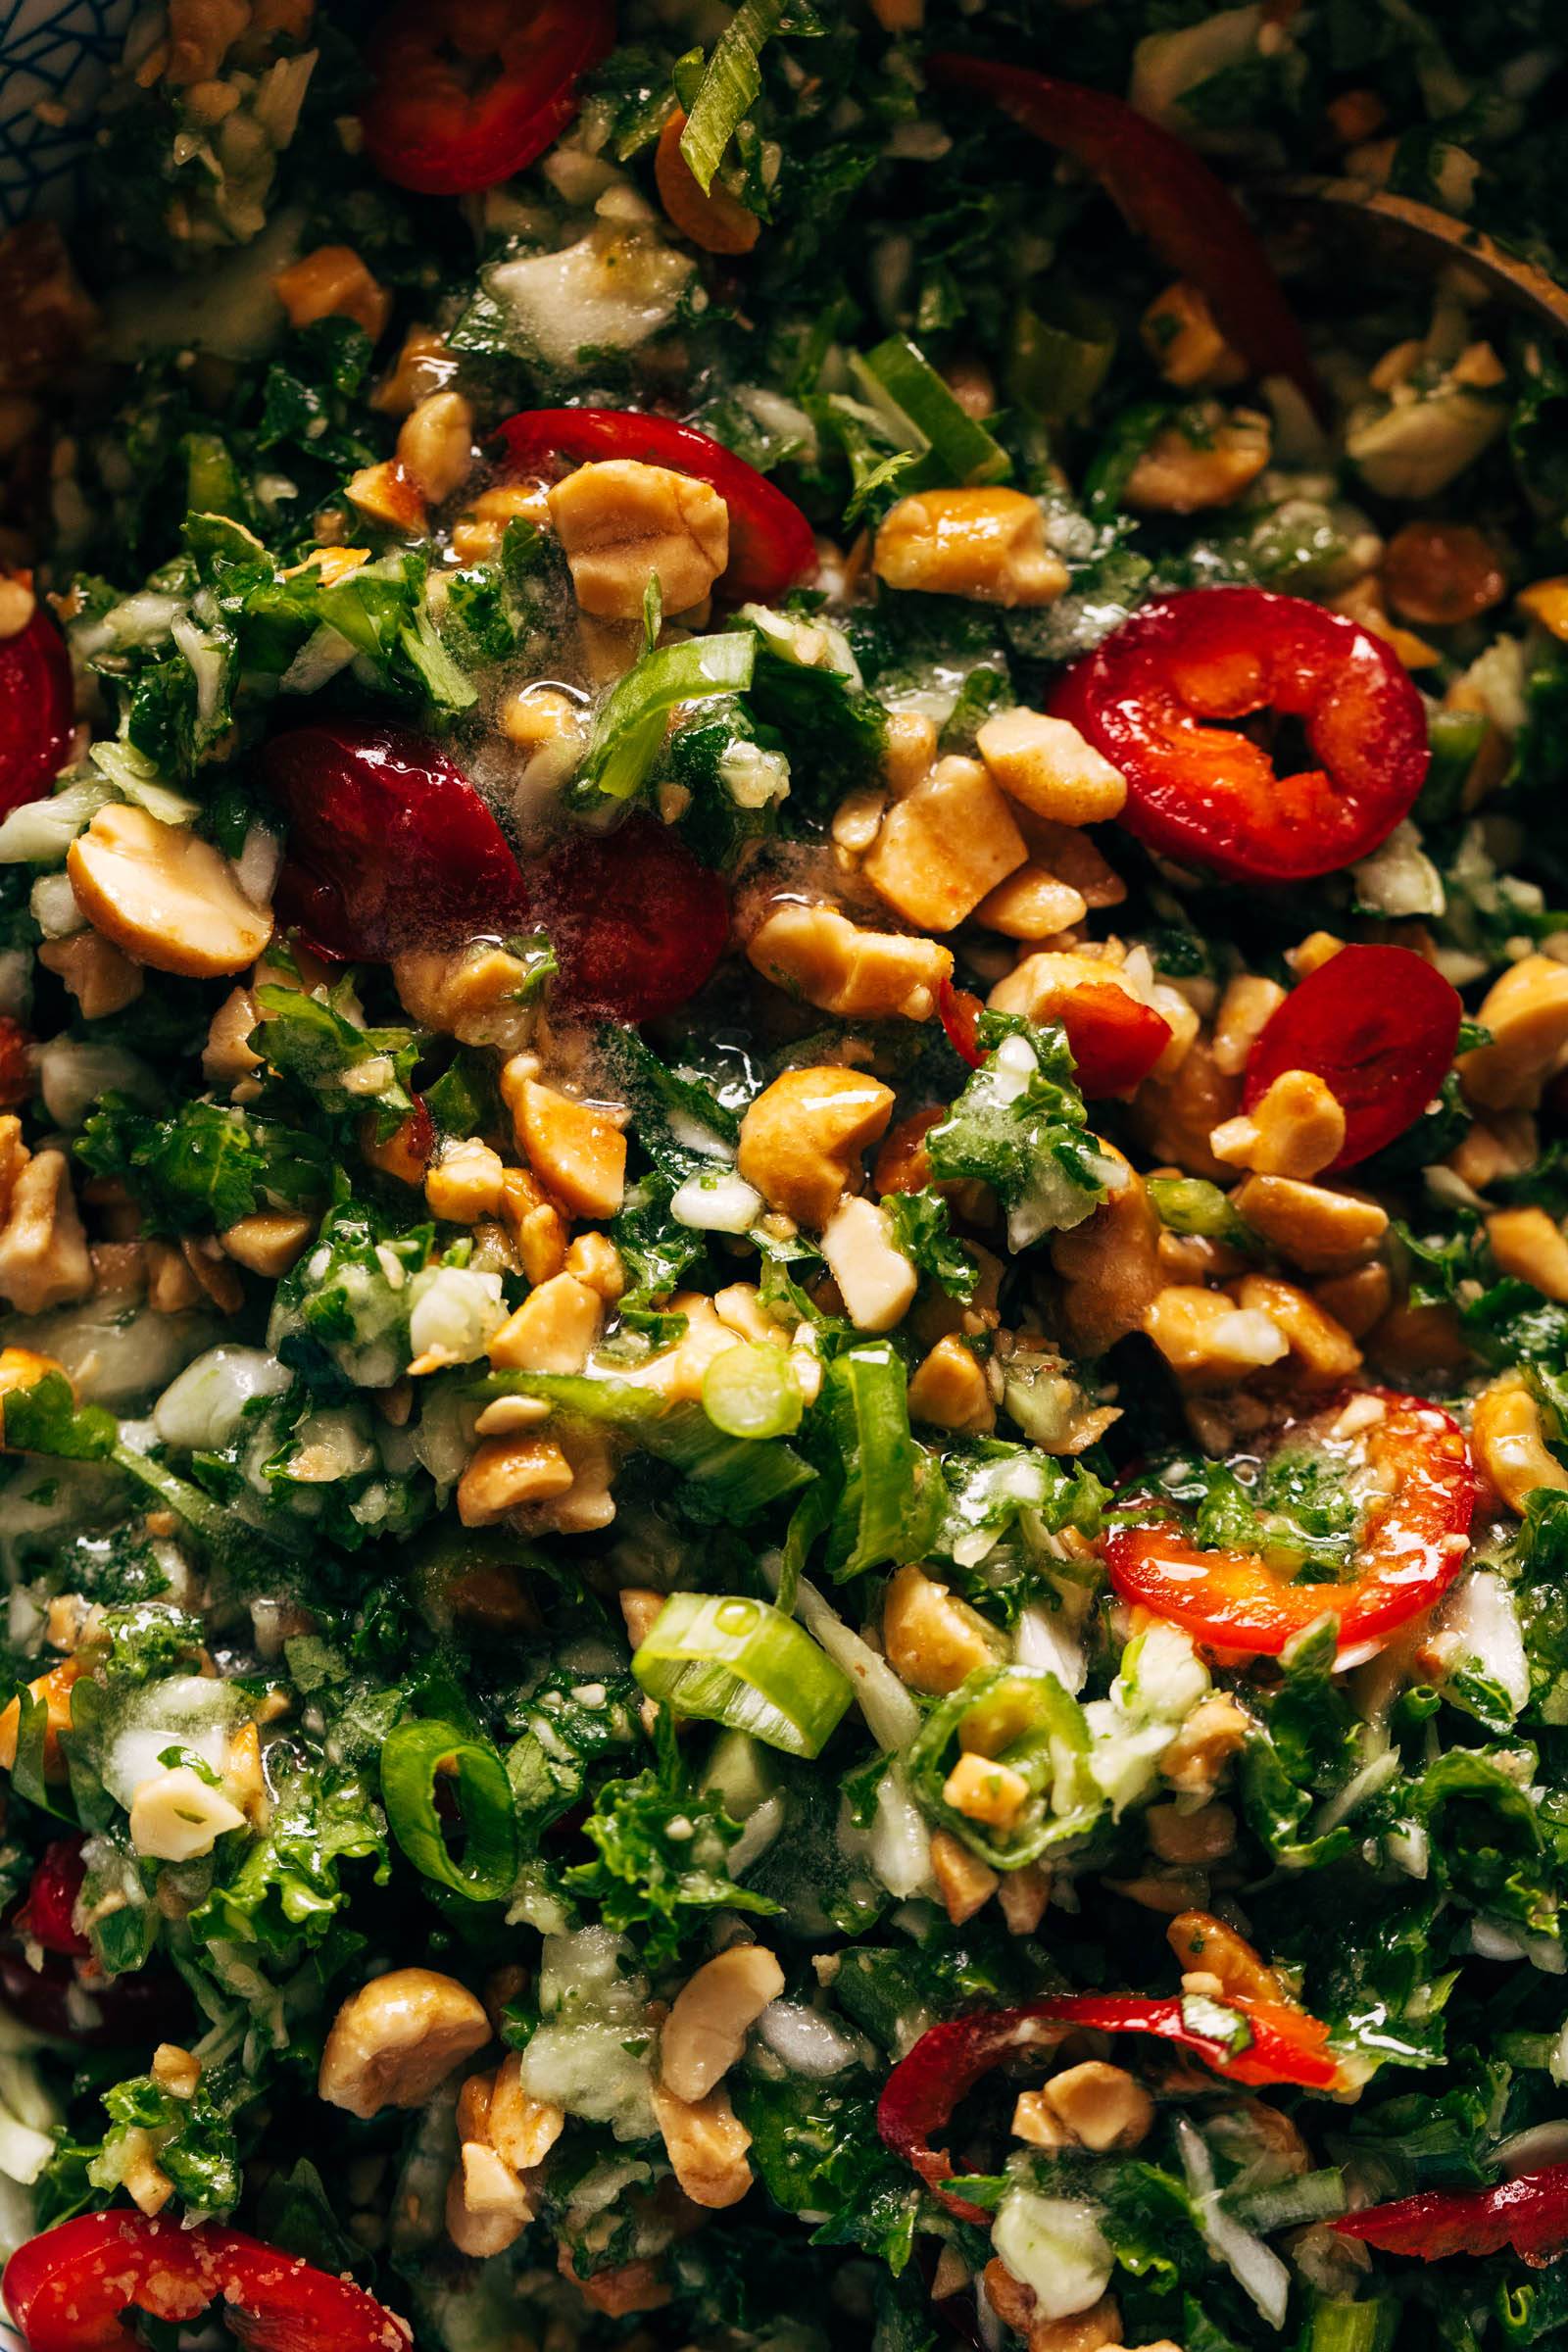
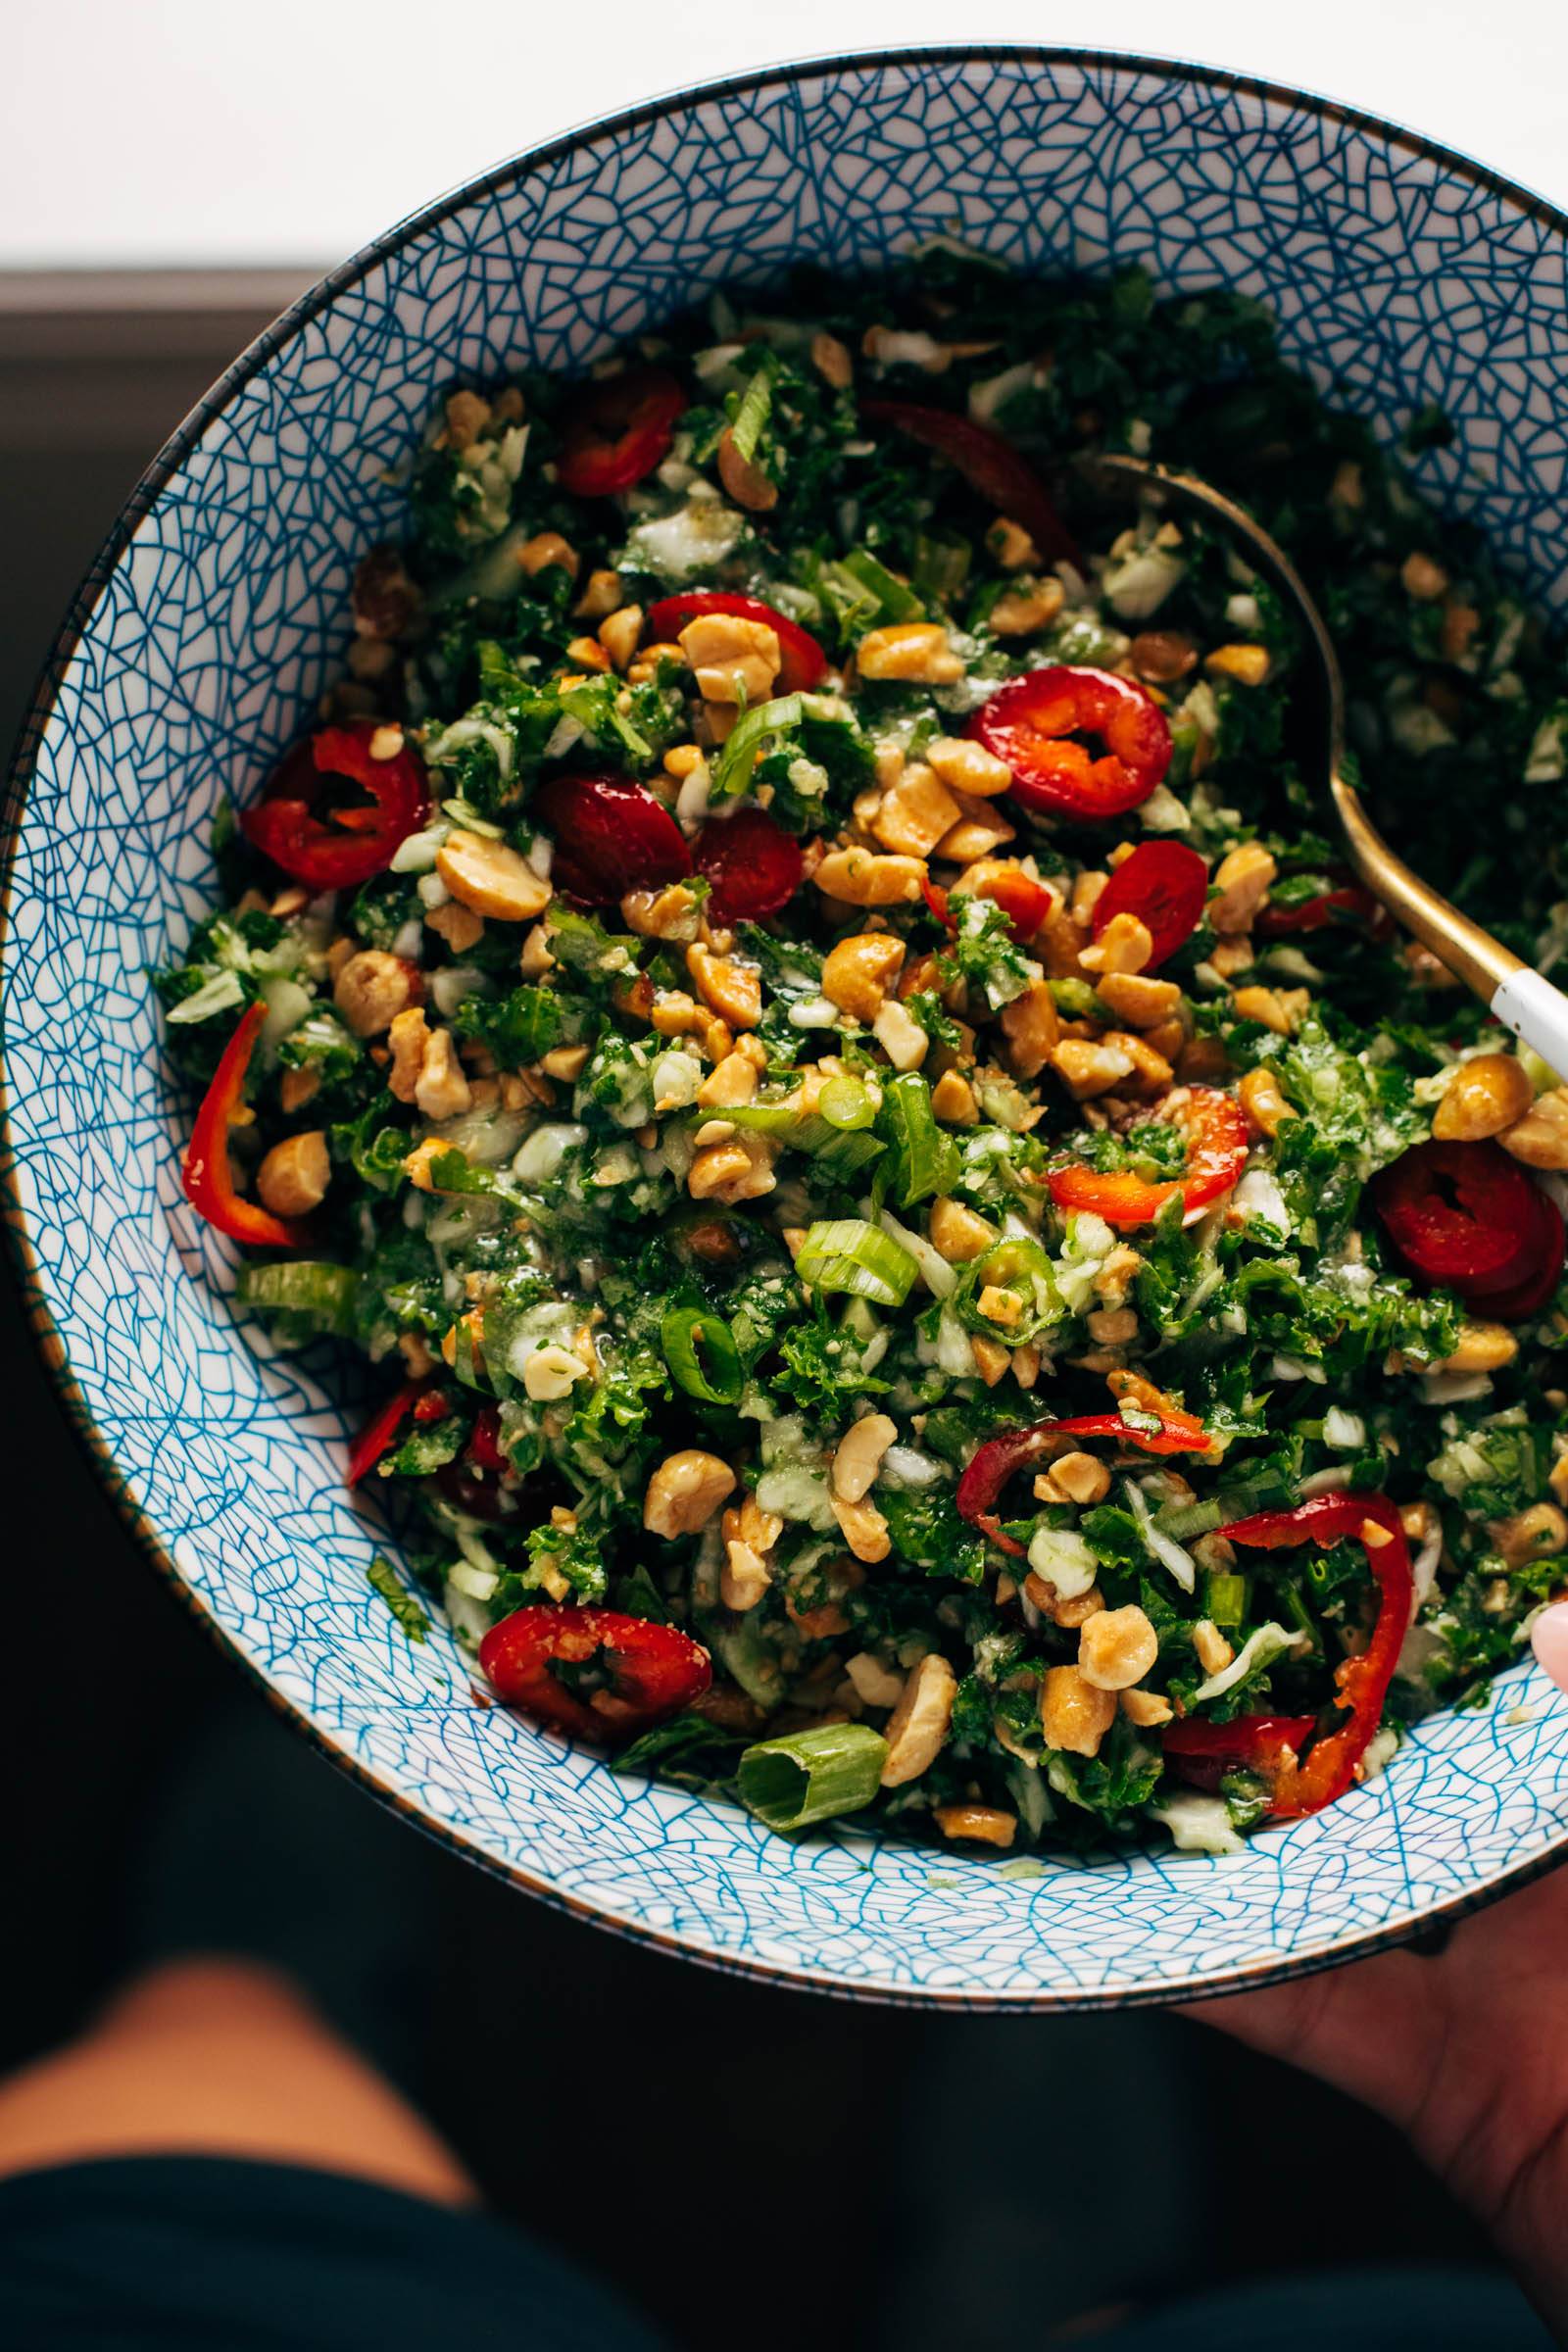
OOOH BABY, this salad is so good! Crunchy kale and cabbage, fresh herbs and fresno peppers, chopped peanuts, and a perfect roasted peanut vinaigrette that tucks into all the salad nooks and crannies.
This Roasted Peanut Kale Crunch Salad is SO yummy! I am very picky about kale in a salad, and this one is so pleasant to eat because of the finely chopped texture on the kale! Plus it’s juiced up and slicked down in the best way possible with a light roasted peanut vinaigrette that is slightly sweet and just really delightful.
In This Post: Everything You Need For Roasted Peanut Kale Crunch Salad
Watch How To Make This Kale Crunch Salad
Lindsay’s Notes
Holy moly, I’ve lost count of how many times we’ve eaten this salad in the last few weeks!
First of all, let it be known that roasted peanut vinaigrette is the only way I want to live from here on out. It gives all the flavor of a peanut dressing but none of the heaviness; it’s much lighter and saucier, getting into every nook and cranny of this salad the way a regular peanut dressing wouldn’t be able to. It’s fantastic. Plus, the texture on the cabbage and the kale makes this salad TRULY ENJOYABLE to eat, and tossing it all up with some peanuts and thinly sliced fresno peppers makes this crunchy, spicy, filling, and perfect.
The typical order of events for this salad is:
- I make it for lunch.
- We have the rest of it for dinner.
It actually lasts shockingly well, even with dressing on it, because the kale and cabbage are so hearty! I often enjoy our dinner leftovers as much as I did the original lunch salad because the kale softens even more as it sits in the dressing.
But we don’t always do this all in one day – it works great for meal prep as well. I’ve been known to tuck a container of the shredded up kale, cabbage, and herbs in the fridge, plus a container of the dressing, and basically just toss together individual salads all week long for amazingly fast little lunch salads that I always, always look forward to.
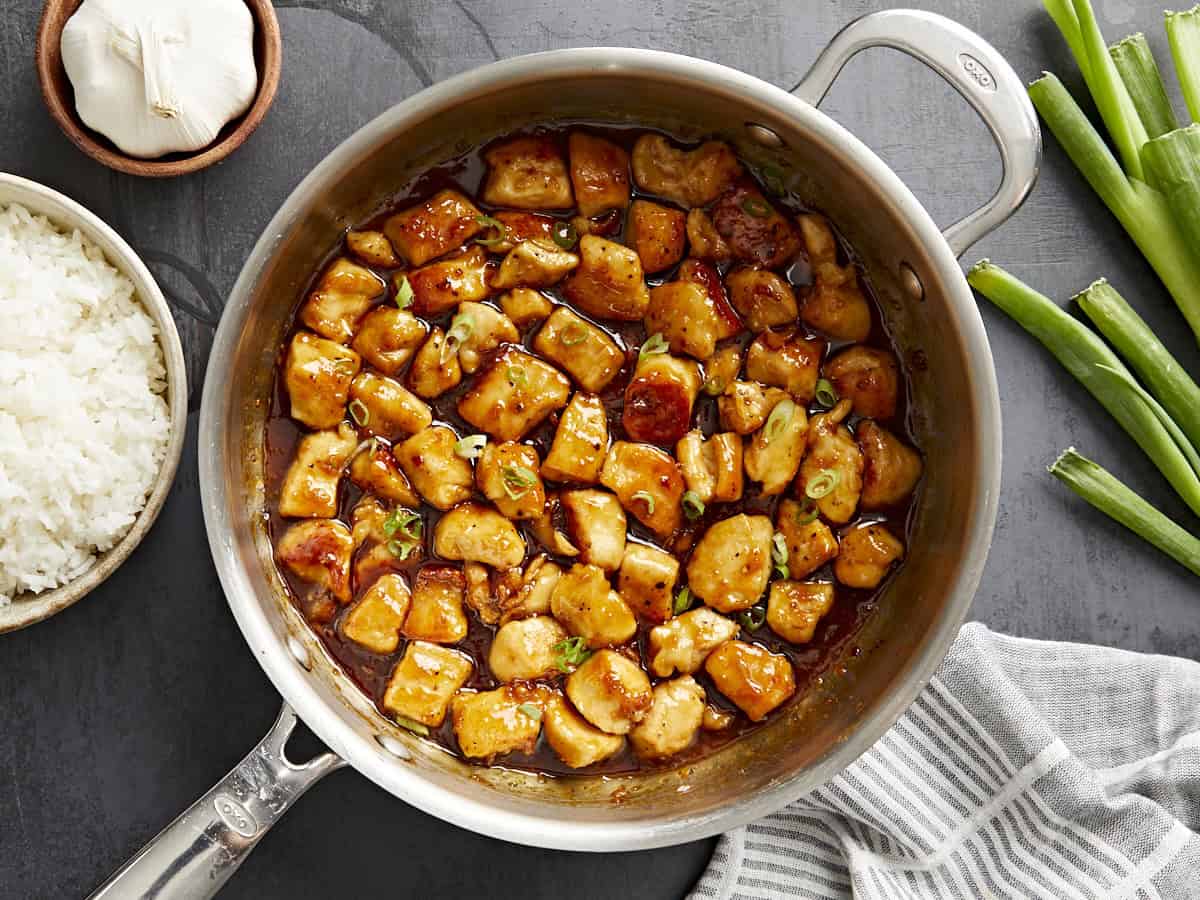
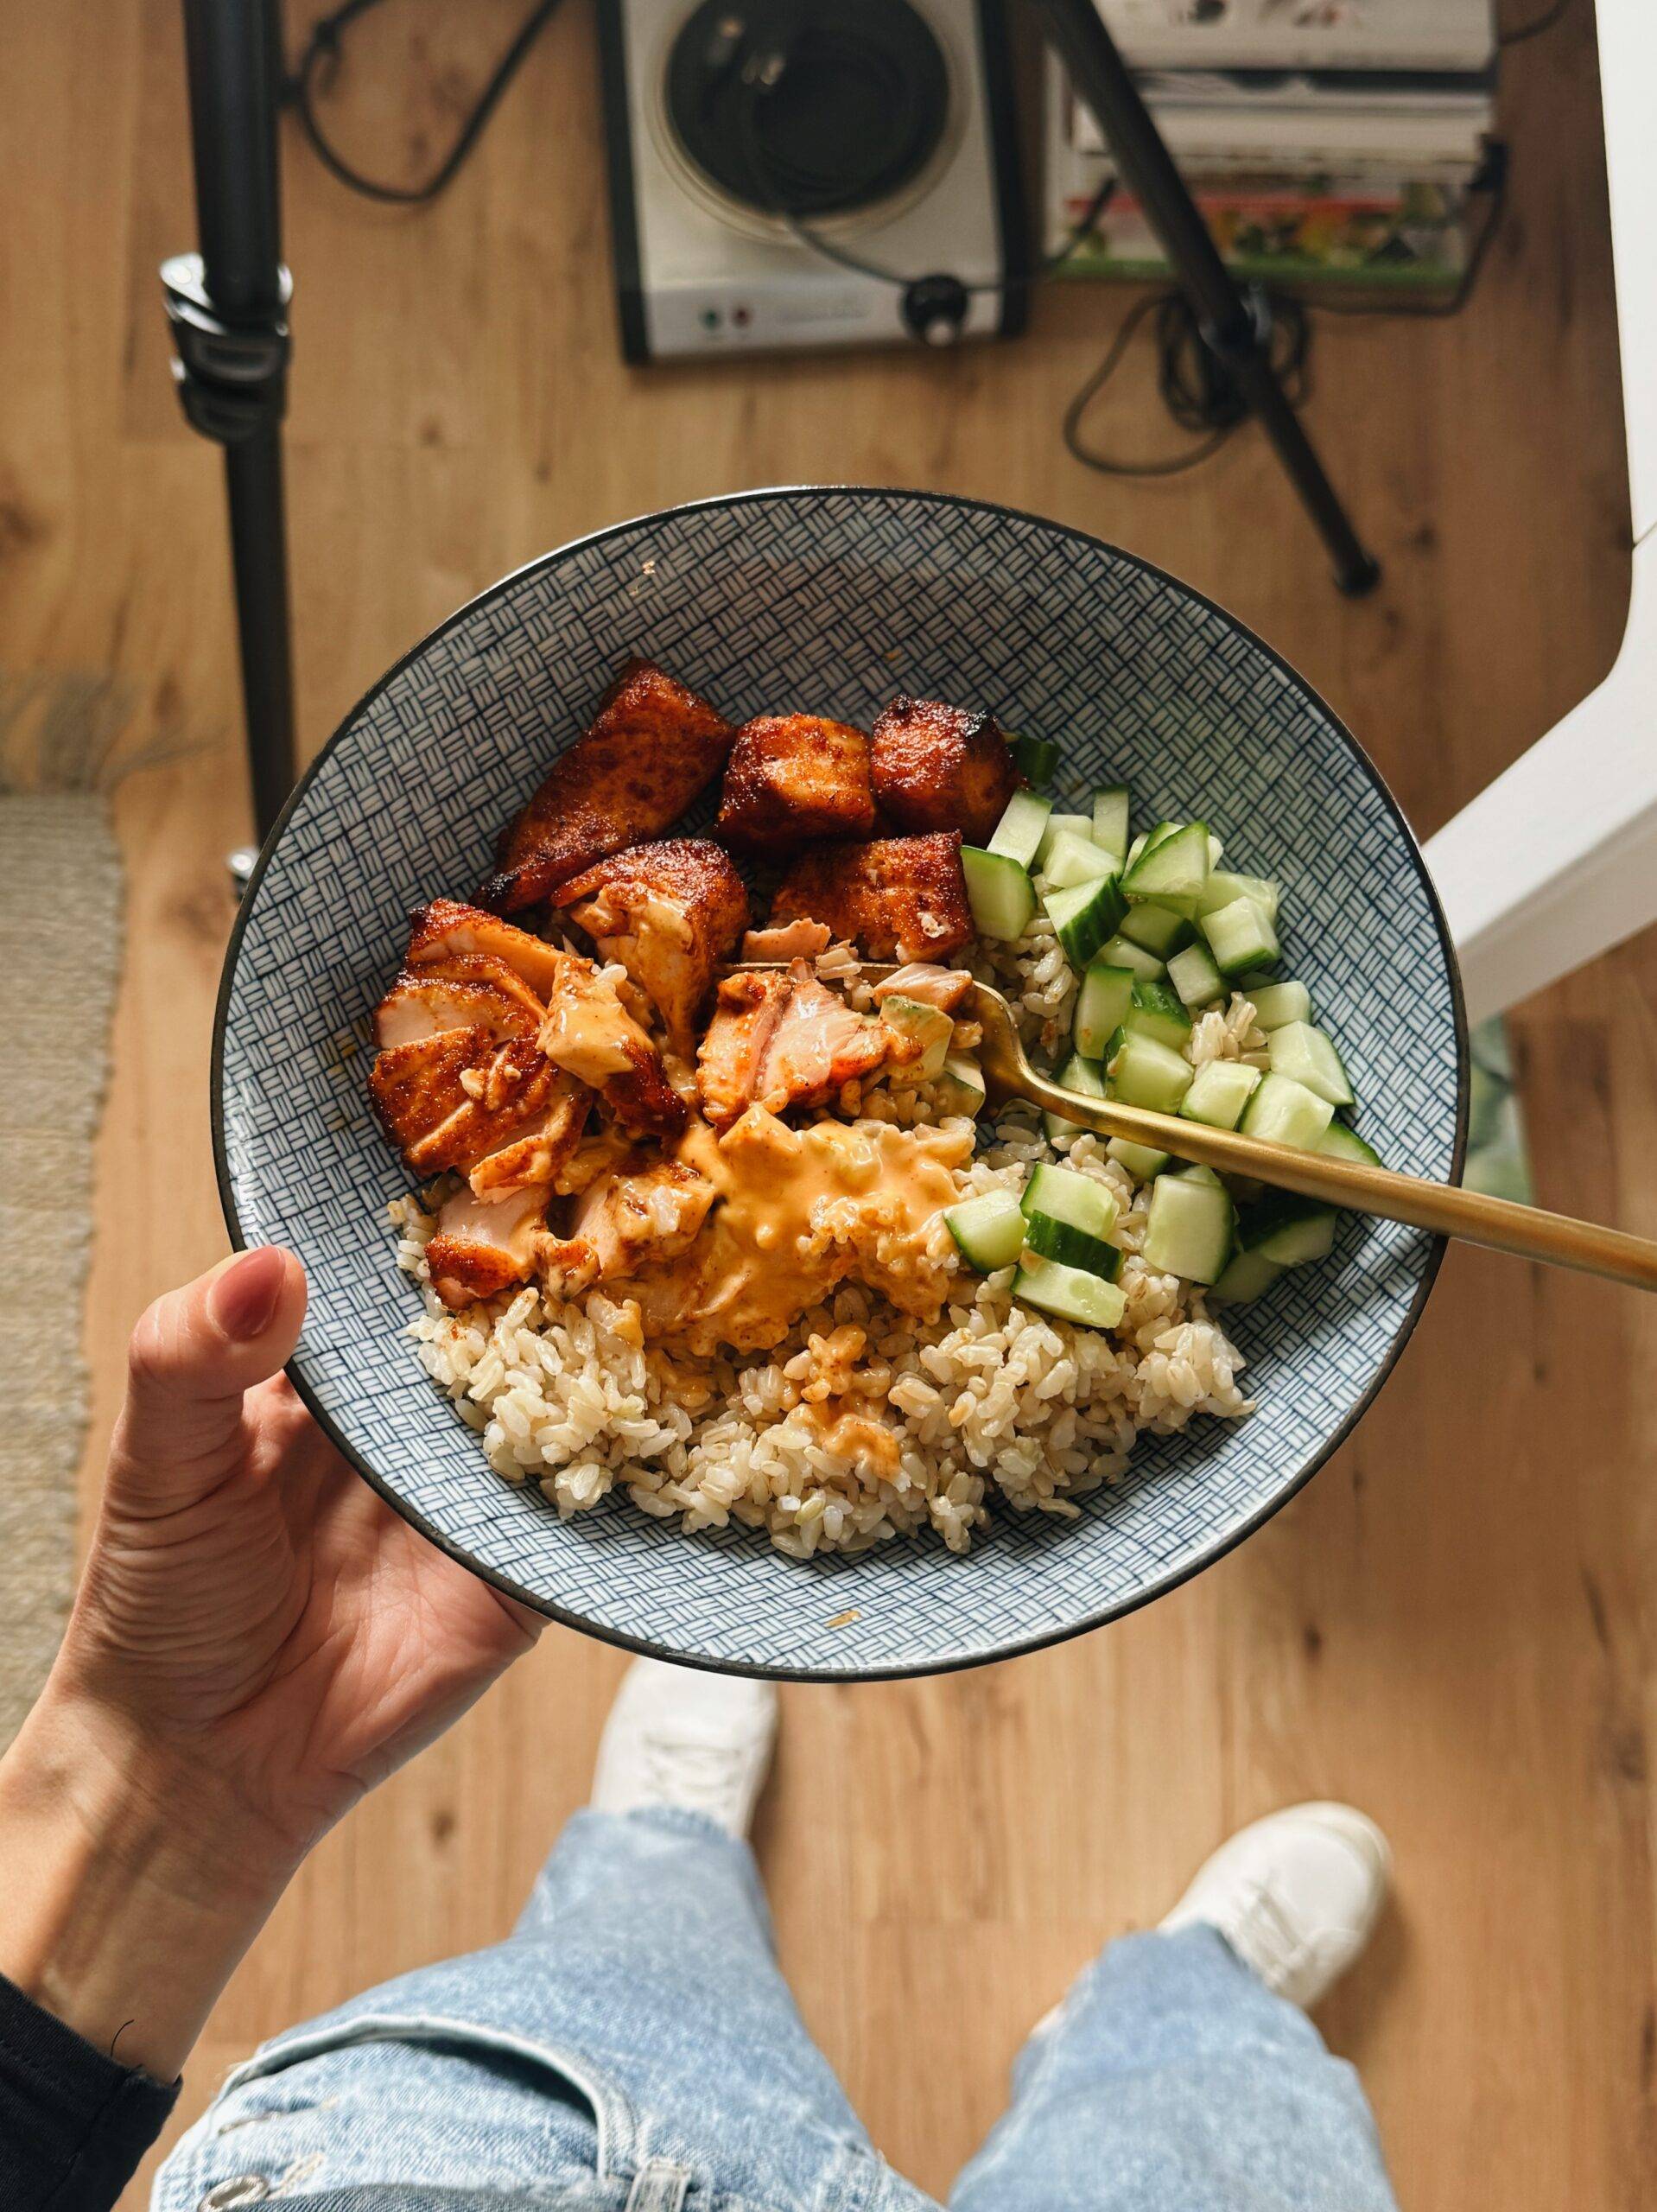
You can eat this salad on its own, and I often do, especially as a lunch salad! Or you can do what we did last night for dinner and throw some herby shrimp on the side with a hunk of buttered bread. Or what we did the night before – serving it alongside leftover grilled chicken and rice.
This roasted peanut kale crunch salad is my new BFF.
How To Make This Roasted Peanut Kale Crunch Salad
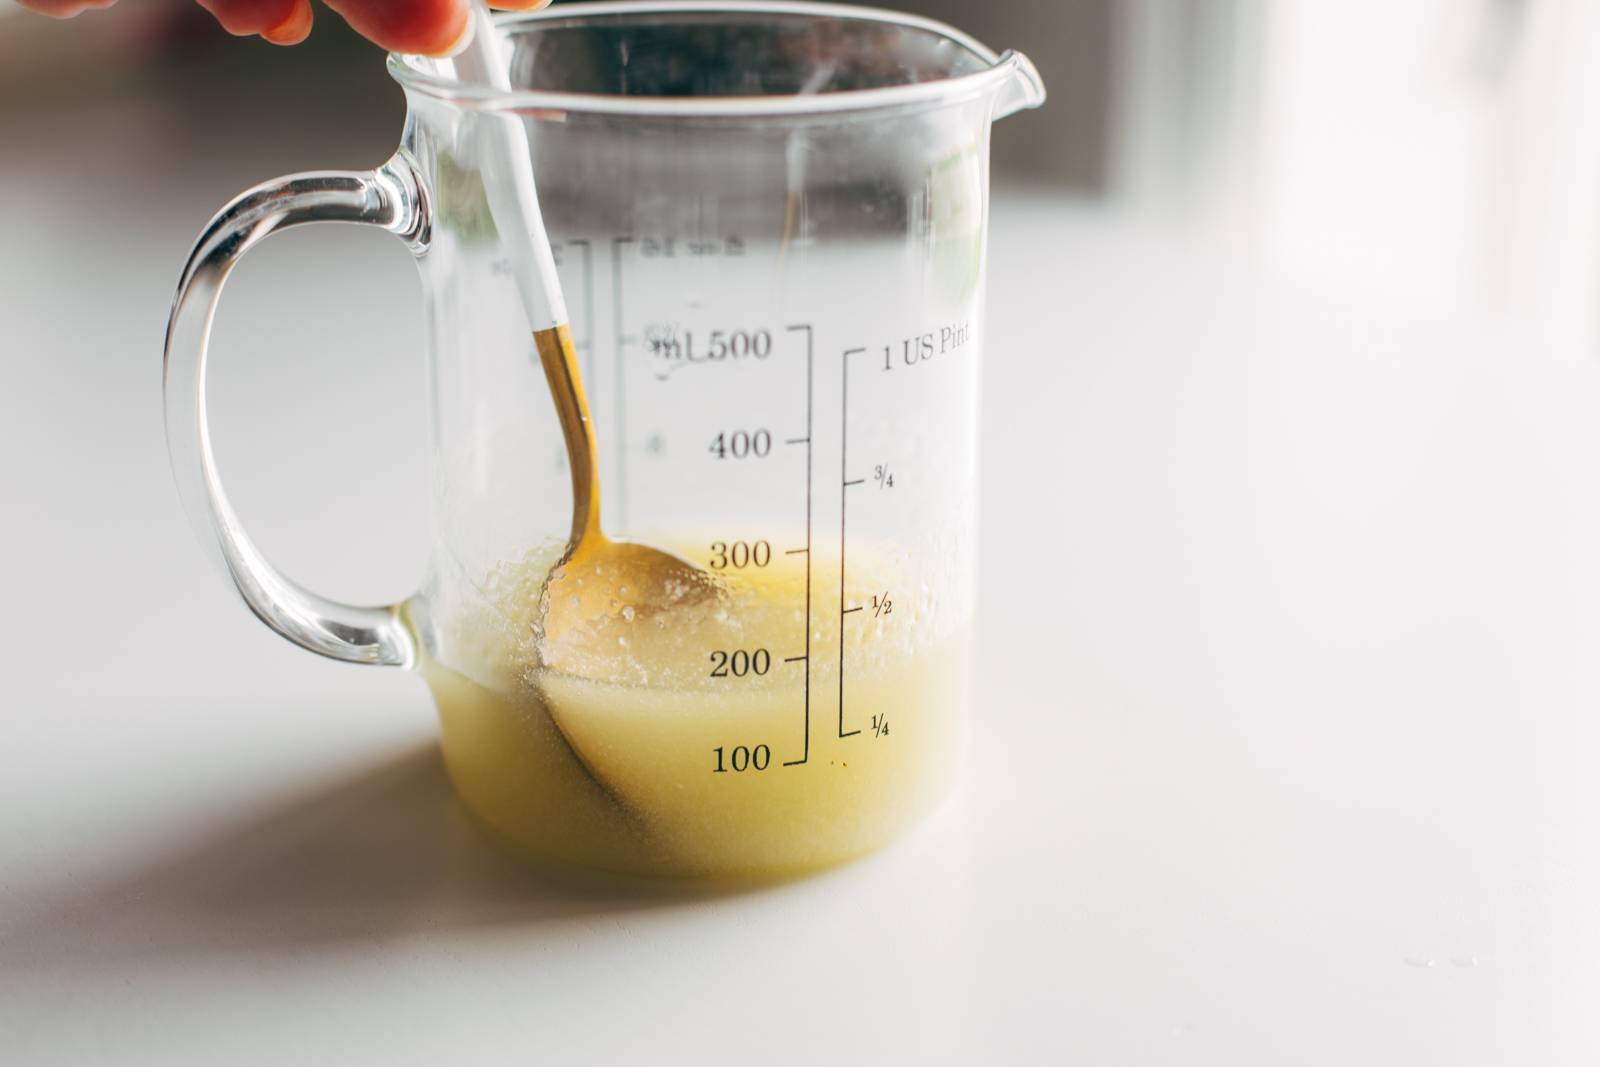
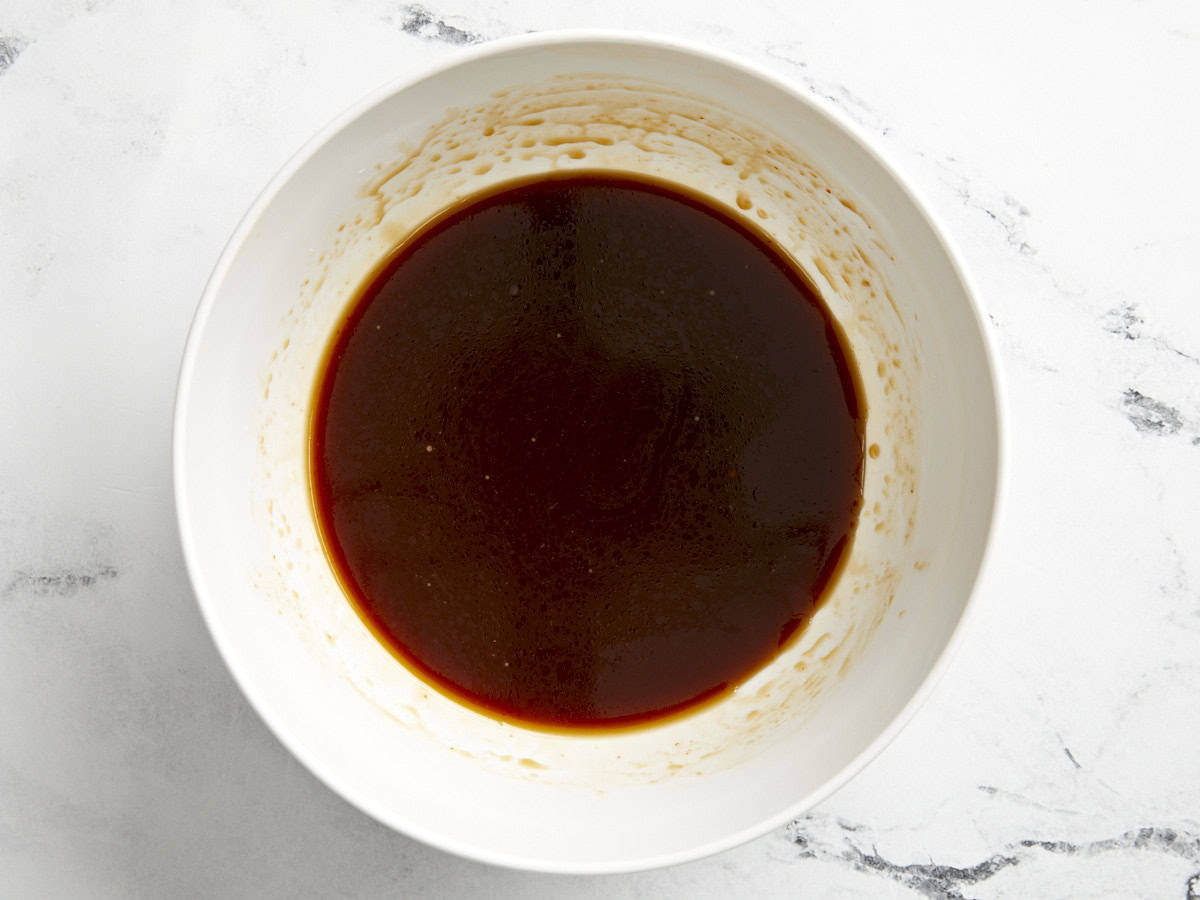
Step 1: Make a Quick Roasted Peanut Vinaigrette
Whisk or blitz a quick little roasted peanut vinaigrette! The magic ingredient here is the roasted peanut oil (affiliate link) – it gives this dressing the taste of a peanut dressing but maintains a light, silky vinaigrette texture. This might require a trip to a separate store depending on where you shop, but when you find it, I’d recommend buying multiple bottles – I’ve very quickly gone through 2 bottles with several batches of this salad!
If you can’t find roasted peanut oil or just honestly don’t want to bother with finding it (I get it), you could use this peanut dressing, or use avocado oil in its place for a different flavor but similar texture.
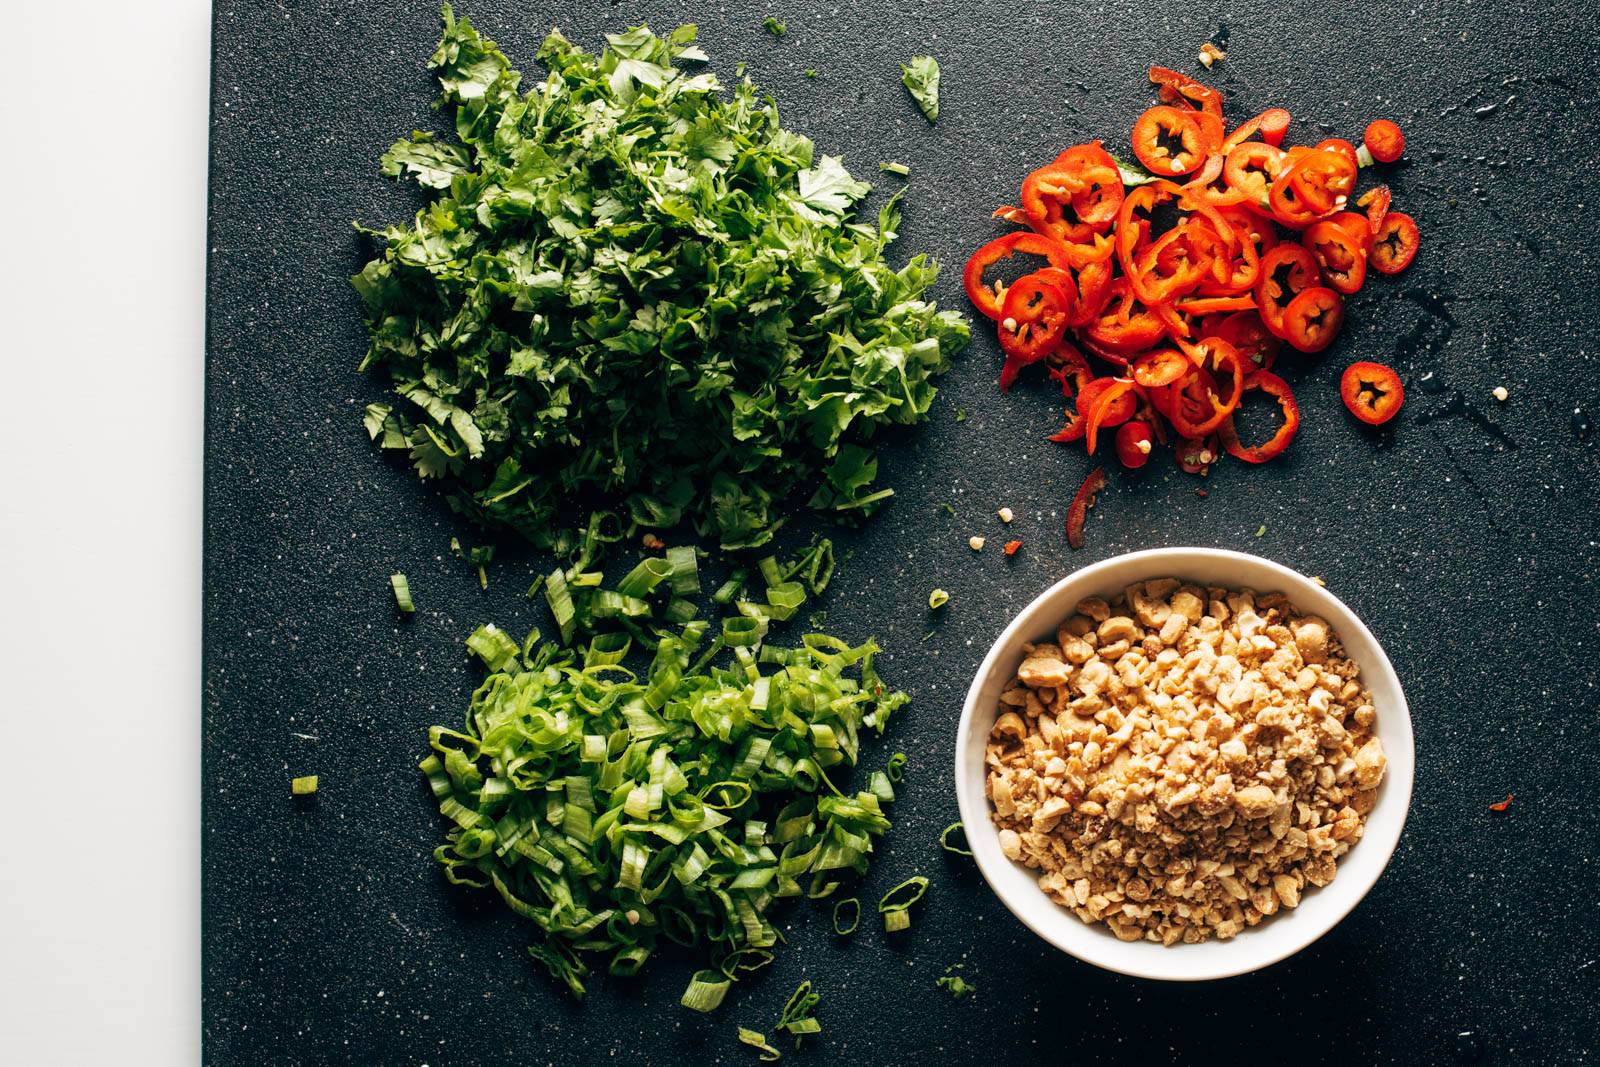
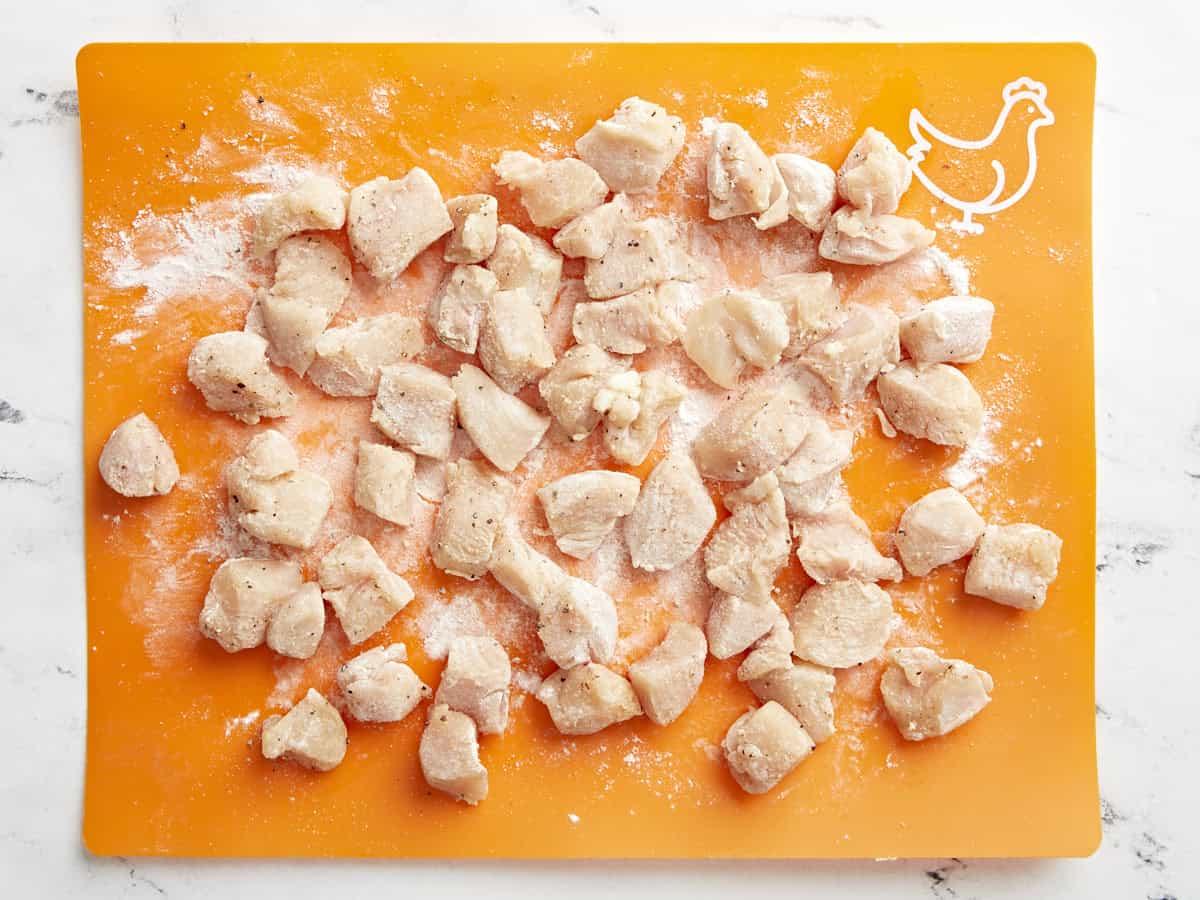
Step 2: Chop Your Veggies
I do these ones by hand: cilantro, green onion, fresno peppers, and peanuts.
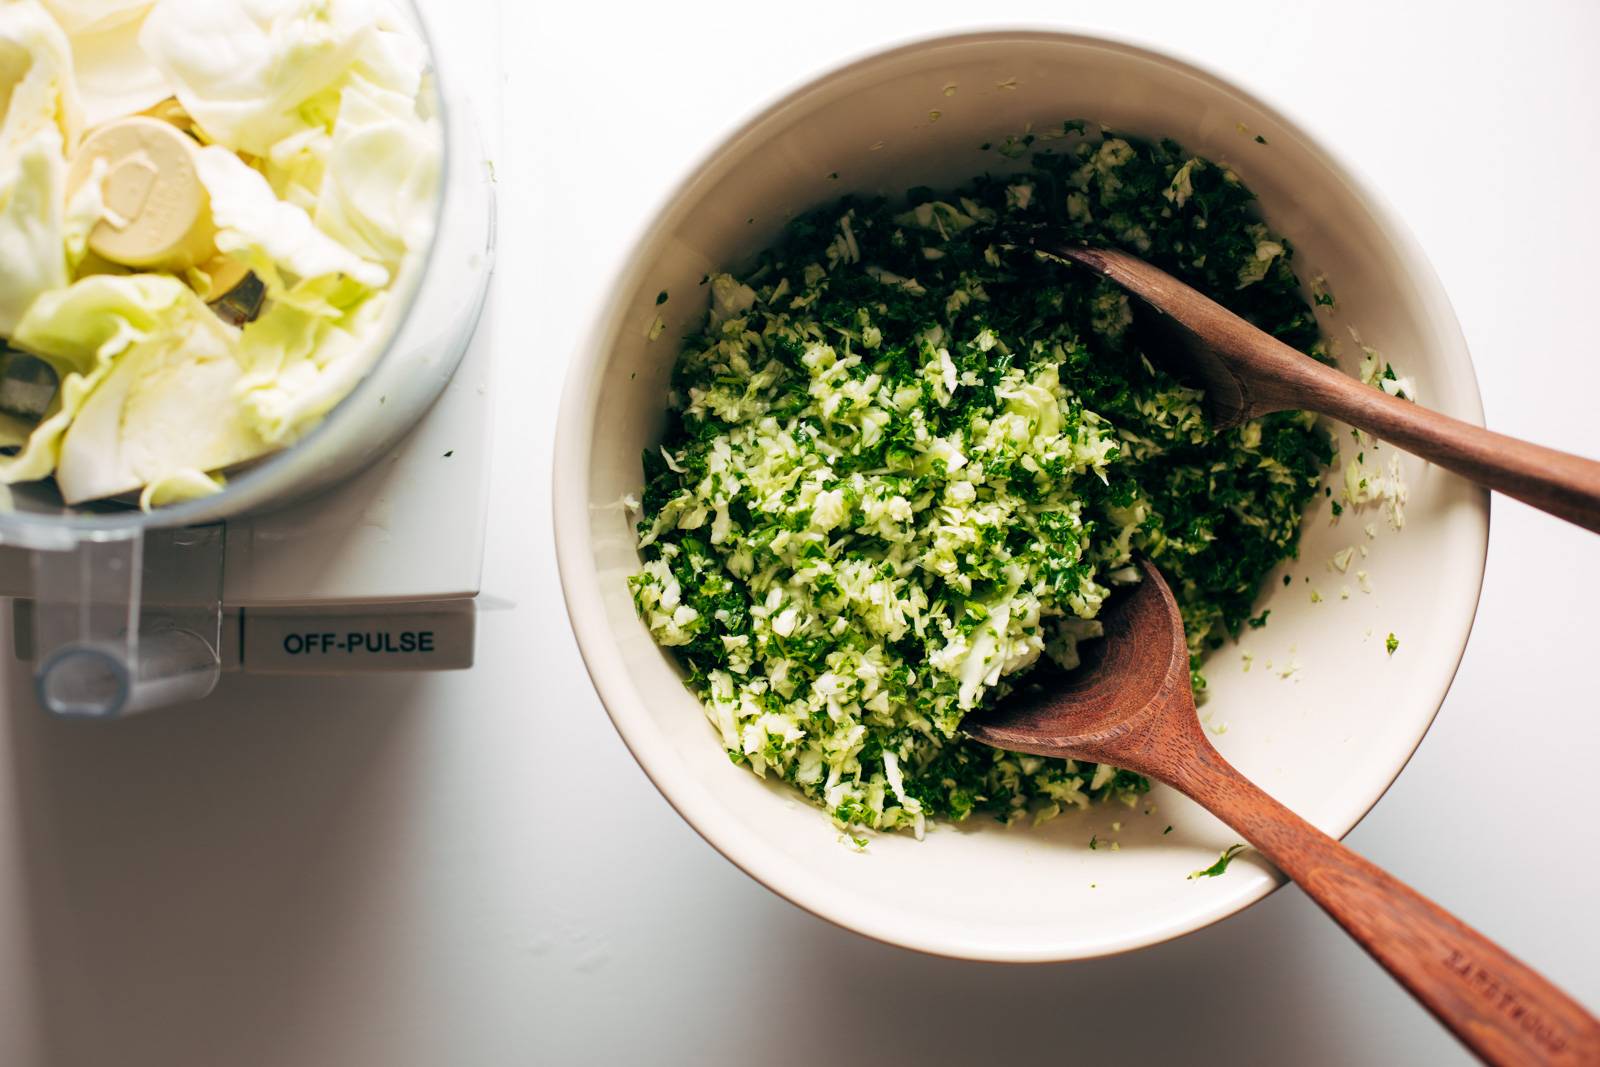
Step 3: Finely Chop Your Greens
Finely chop your kale and cabbage in a food processor for the ultimate in teeny-tiny chopped texture. I would recommend cutting the vegetables into chunks first so they process more evenly and doing this in several batches. If they start to release too much water, just give them a gentle pat or squeeze with a paper towel.
You can store the kale and cabbage together in one bowl or container!
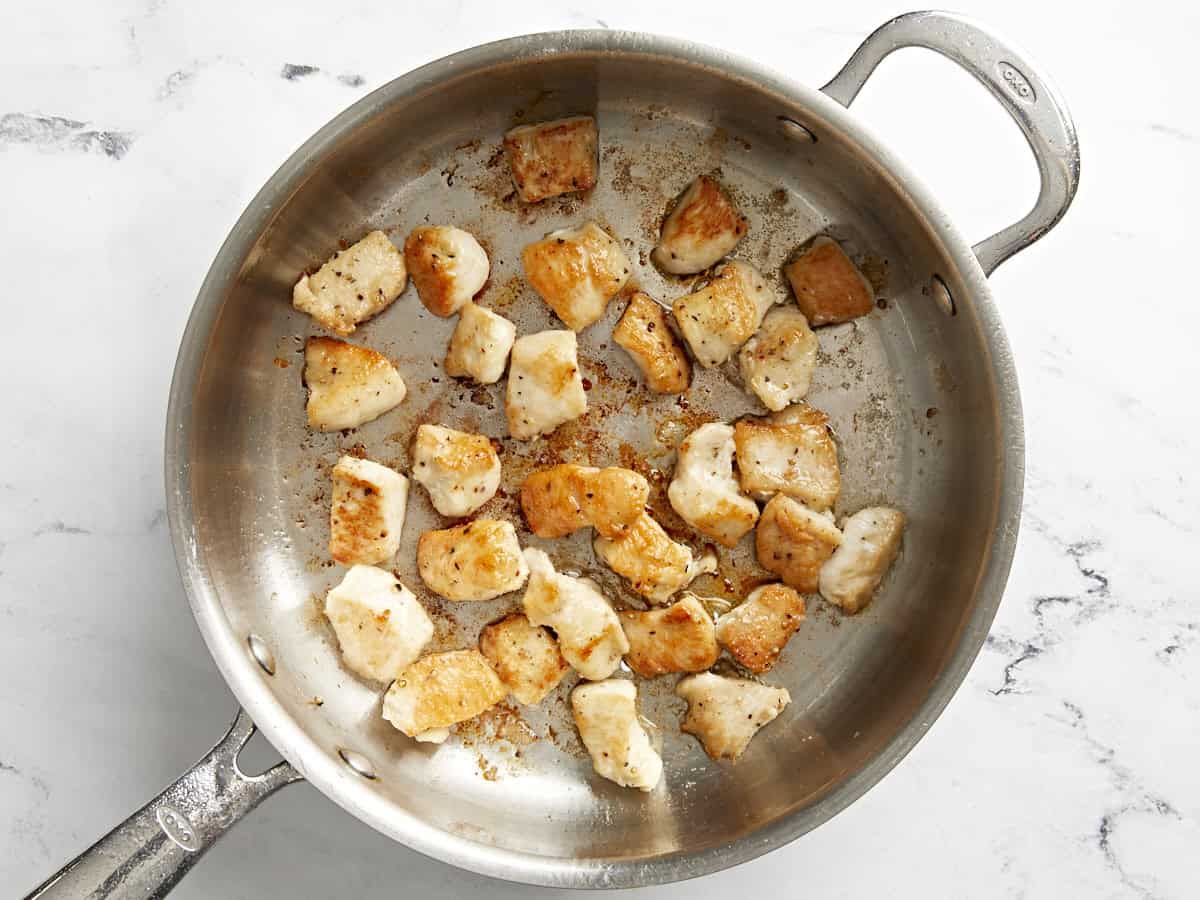
Step 4: Combine It All
Toss your dressing, peppers, herbs, peanuts, and greens all together! ENJOY YOUR LIFE!
Description
OOOH BABY, this salad is so good! Crunchy kale and cabbage, fresh herbs and fresno peppers, chopped peanuts, and a perfect roasted peanut vinaigrette that tucks into all the salad nooks and crannies.
Kale Crunch Salad:
Roasted Peanut Vinaigrette:
- Make the Roasted Peanut Vinaigrette: Blend all ingredients in a small blender or food processor until smooth. (This is mostly to incorporate the garlic, so if you’d rather, you can grate the garlic into the jar with the other ingredients and shake thoroughly to combine.)
- Prep the Salad: Chop your herbs, peanuts, and fresno peppers.
- Chop the Kale and Cabbage: Using a food processor, pulse the kale and cabbage in batches until it is very finely chopped, stopping before the greens get too mushy. If they release too much water, just give them a gentle squeeze with a paper towel. Transfer to a large bowl.
- Mix and Serve: Toss your kale and cabbage with some of the dressing; massage it together with your hands for a minute to make sure the kale is tender! Add peanuts, peppers, and the rest of the dressing. YUM!
- Prep Time: 15 minutes
- Category: Salad
- Method: Chop
- Cuisine: American
Keywords: peanut salad, kale peanut salad, kale crunch salad
Frequently Asked Questions For Roasted Peanut Kale Crunch Salad
You can make this salad dressing with avocado oil in place of the peanut oil – the flavor will change quite significantly (less peanut flavor, obviously), but the texture will be similar! Or, if you want to keep the peanut flavor, you could use this amazing peanut dressing / sauce.
Once you toss it all together, it lasts pretty well in the fridge for 4-6 hours.
Toss the kale, cabbage, and herbs together; store all together in one container in the fridge. Slice the peppers; store in the fridge. Blitz the dressing; store in the fridge. Chop the peanuts; store at room temperature. When you’re ready to eat, assemble your salad elements!
I have made this with grilled chicken, shrimp, and edamame!
This is gluten-free and dairy-free as written!
Yes – I would recommend using a mandoline instead of chopping by hand to get a very fine shredded texture! But if all you have is a knife, that will work, too! 🙂 Just chop everything very finely.


")
")