Homemade Reese’s Cups with Sea Salt
Highlighted under: Sugar & Spice
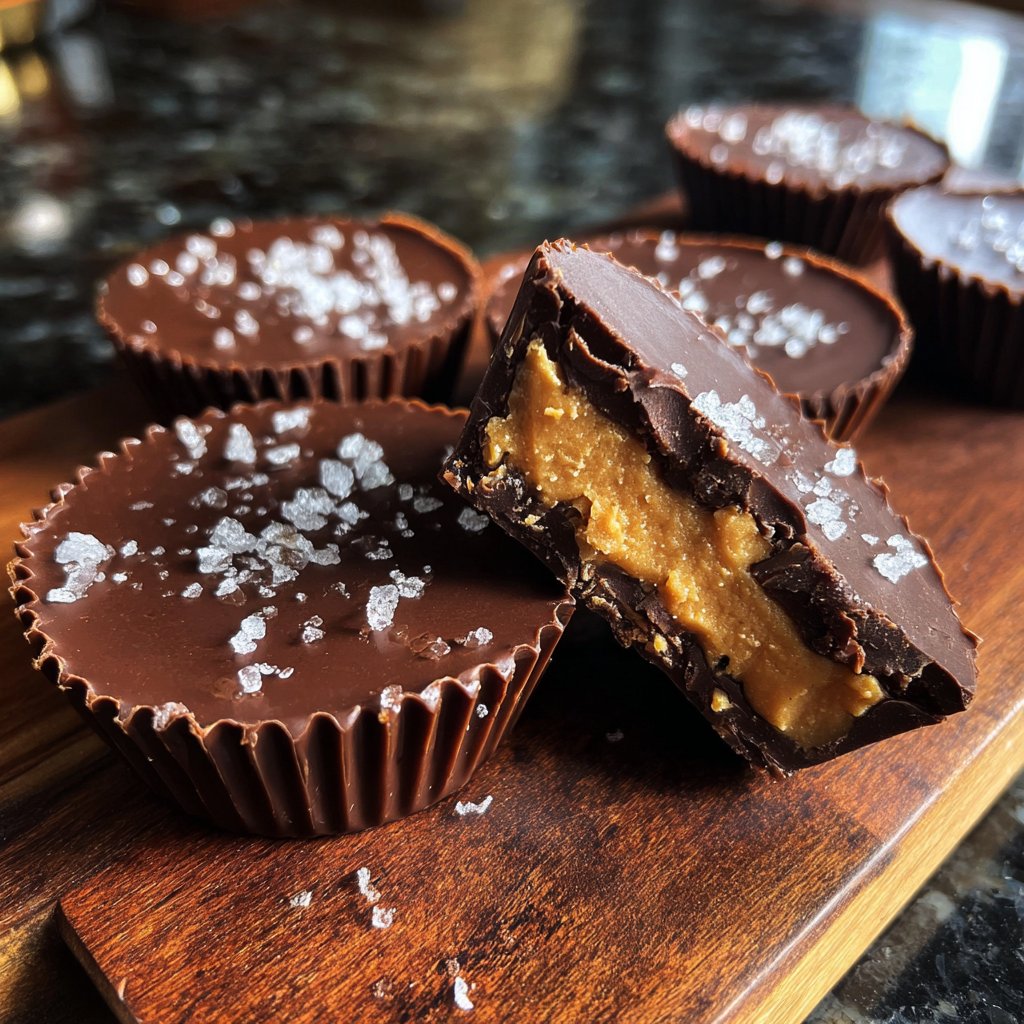
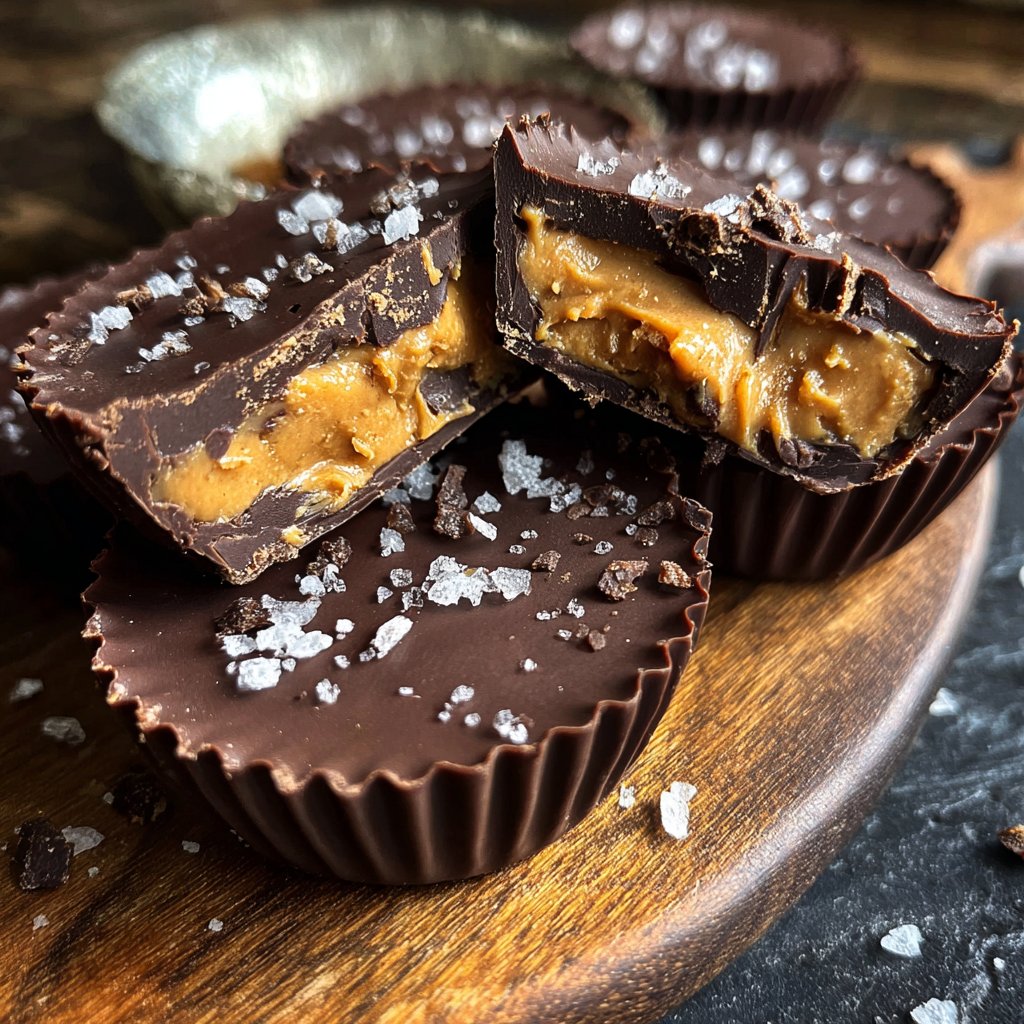
I love making my own Reese’s Cups, especially with the addition of sea salt for that perfect balance of sweet and salty. This recipe allows me to indulge in a creamy, chocolatey treat while knowing exactly what ingredients are used. The combination of rich peanut butter filling and smooth chocolate coating is simply irresistible, and the hint of sea salt elevates each bite even more. It's a perfect treat for sharing or enjoying on my own; just be prepared to make a second batch!
When I first tried making these homemade Reese’s Cups, I was surprised at how simple the process was. What really makes them special is using quality chocolate and fresh peanut butter. The key is to melt the chocolate at a low temperature to avoid burning, which keeps it silky smooth. With just a few ingredients, I can create a treat that rivals store-bought versions!
Once I mastered the basic recipe, I experimented by adding different toppings like crushed nuts or even drizzled caramel. However, the sprinkle of sea salt on top remains my favorite twist, enhancing the flavor profile and making each bite a little more indulgent. They never last long in my house!
Why You'll Love This Recipe
- Rich chocolate flavor paired with crunchy sea salt
- Creamy, homemade peanut butter filling that's hard to resist
- A fun activity to make with family or friends
Understanding the Ingredients
The key to achieving that signature Reese's texture lies in using creamy peanut butter. I recommend natural peanut butter without added sugar or oils, as it gives the filling a smooth consistency and allows for a robust peanut flavor. If you prefer a bit more crunch, a chunky variety can be used, but it might affect the filling's texture slightly. The inclusion of powdered sugar is crucial; it sweetens the filling while providing a slight firmness when it sets.
Coconut oil plays an important role in the chocolate coating. It not only helps to achieve a smooth, glossy finish but also allows the chocolate to set more firmly, making the cups easier to handle. If you don’t have coconut oil, vegetable oil can be an acceptable substitute, but note that it may change the flavor slightly due to the refined taste.
Perfecting the Technique
When melting chocolate, be cautious about the heat. Using the microwave in 30-second intervals ensures that you don’t overheat the chocolate, which can lead to a grainy texture. Stirring in between helps distribute the heat and ensures an even melt. If you do accidentally overcook the chocolate, adding a little vegetable oil can help smooth it out and revive its silky consistency.
Assembling the cups can be a fun and creative process. Pouring a small amount of melted chocolate into each liner allows you to create a nice base. Make sure to chill the chocolate until it's firm before adding the peanut butter filling. If it's too warm, the filling may sink rather than remain on top, which will affect the final look and texture of your cups.
Ingredients
For the Peanut Butter Filling
- 1 cup creamy peanut butter
- 1/4 cup powdered sugar
- 1/4 teaspoon salt
For the Chocolate Coating
- 1 cup semisweet chocolate chips
- 1 tablespoon coconut oil
- Sea salt for sprinkling
Make sure to use high-quality chocolate for the best results!
Instructions
Prepare the Filling
In a mixing bowl, combine the peanut butter, powdered sugar, and salt. Mix well until smooth. Set aside.
Melt the Chocolate
In a microwave-safe bowl, combine the chocolate chips and coconut oil. Microwave in 30-second intervals, stirring in between, until completely melted and smooth.
Assemble the Cups
Line a muffin tin with cupcake liners. Pour a small amount of melted chocolate into the bottom of each liner, spreading it around to coat. Chill in the fridge for 10 minutes until set.
Add the Filling
Remove the tin from the fridge and add about a tablespoon of the peanut butter mixture on top of the chocolate in each cup, smoothing it out.
Top with More Chocolate
Pour the remaining melted chocolate over the peanut butter filling in each cup, ensuring it is fully covered. Sprinkle a pinch of sea salt on top.
Chill and Serve
Return the muffin tin to the fridge and let the cups set for at least 30 minutes before serving. Enjoy your homemade treats!
For best results, keep these cups refrigerated to maintain their shape.
Pro Tips
- Experiment with different types of chocolate or add other flavors like vanilla extract to the peanut butter filling for a twist.
Storage and Shelf Life
These homemade Reese's Cups can be stored in an airtight container in the refrigerator for up to two weeks. If you want to enjoy them longer, consider freezing them. Simply arrange them in a single layer on a baking sheet to freeze before transferring them to a freezer-safe container or bag. When properly stored, they can last up to three months in the freezer. To enjoy, let them thaw in the fridge for a few hours before eating.
Keep in mind that temperature plays a significant role in the texture of the cups. If stored at room temperature, they may soften too much, especially in warmer weather. However, if cold, they can provide a delightful contrast when you bite into the creamy filling and smooth chocolate.
Variations and Additions
Feel free to experiment with different nut butters for your filling. Almond butter or cashew butter can add unique flavors and change the nutritional profile while maintaining a similarly smooth consistency. Just make sure to adjust the sweetness as these nut butters can vary greatly in flavor intensity and sweetness levels.
For an extra layer of flavor, consider adding a dash of vanilla extract or a pinch of cinnamon to the peanut butter mixture. These subtle enhancements can elevate the taste profile, making each bite even more decadent. Additionally, if you’re feeling adventurous, try drizzling some melted white chocolate over the top after sprinkling with sea salt for a beautiful finishing touch.
Questions About Recipes
→ Can I use natural peanut butter?
Yes, natural peanut butter works well, but it may have a different texture and can require more powdered sugar to firm up.
→ How do I store leftover cups?
Store them in an airtight container in the refrigerator for up to 1 week.
→ Can I freeze these Reese’s Cups?
Yes, you can freeze them for up to 3 months. Just ensure they are tightly wrapped.
→ What other flavors can I add?
Try adding crushed cookies, mini marshmallows, or a drizzle of caramel on top!
Homemade Reese’s Cups with Sea Salt
What You'll Need
For the Peanut Butter Filling
- 1 cup creamy peanut butter
- 1/4 cup powdered sugar
- 1/4 teaspoon salt
For the Chocolate Coating
- 1 cup semisweet chocolate chips
- 1 tablespoon coconut oil
- Sea salt for sprinkling
How-To Steps
In a mixing bowl, combine the peanut butter, powdered sugar, and salt. Mix well until smooth. Set aside.
In a microwave-safe bowl, combine the chocolate chips and coconut oil. Microwave in 30-second intervals, stirring in between, until completely melted and smooth.
Line a muffin tin with cupcake liners. Pour a small amount of melted chocolate into the bottom of each liner, spreading it around to coat. Chill in the fridge for 10 minutes until set.
Remove the tin from the fridge and add about a tablespoon of the peanut butter mixture on top of the chocolate in each cup, smoothing it out.
Pour the remaining melted chocolate over the peanut butter filling in each cup, ensuring it is fully covered. Sprinkle a pinch of sea salt on top.
Return the muffin tin to the fridge and let the cups set for at least 30 minutes before serving. Enjoy your homemade treats!
Extra Tips
- Experiment with different types of chocolate or add other flavors like vanilla extract to the peanut butter filling for a twist.
Nutritional Breakdown (Per Serving)
- Calories: 250 kcal
- Total Fat: 18g
- Saturated Fat: 7g
- Cholesterol: 0mg
- Sodium: 150mg
- Total Carbohydrates: 20g
- Dietary Fiber: 2g
- Sugars: 12g
- Protein: 6g