
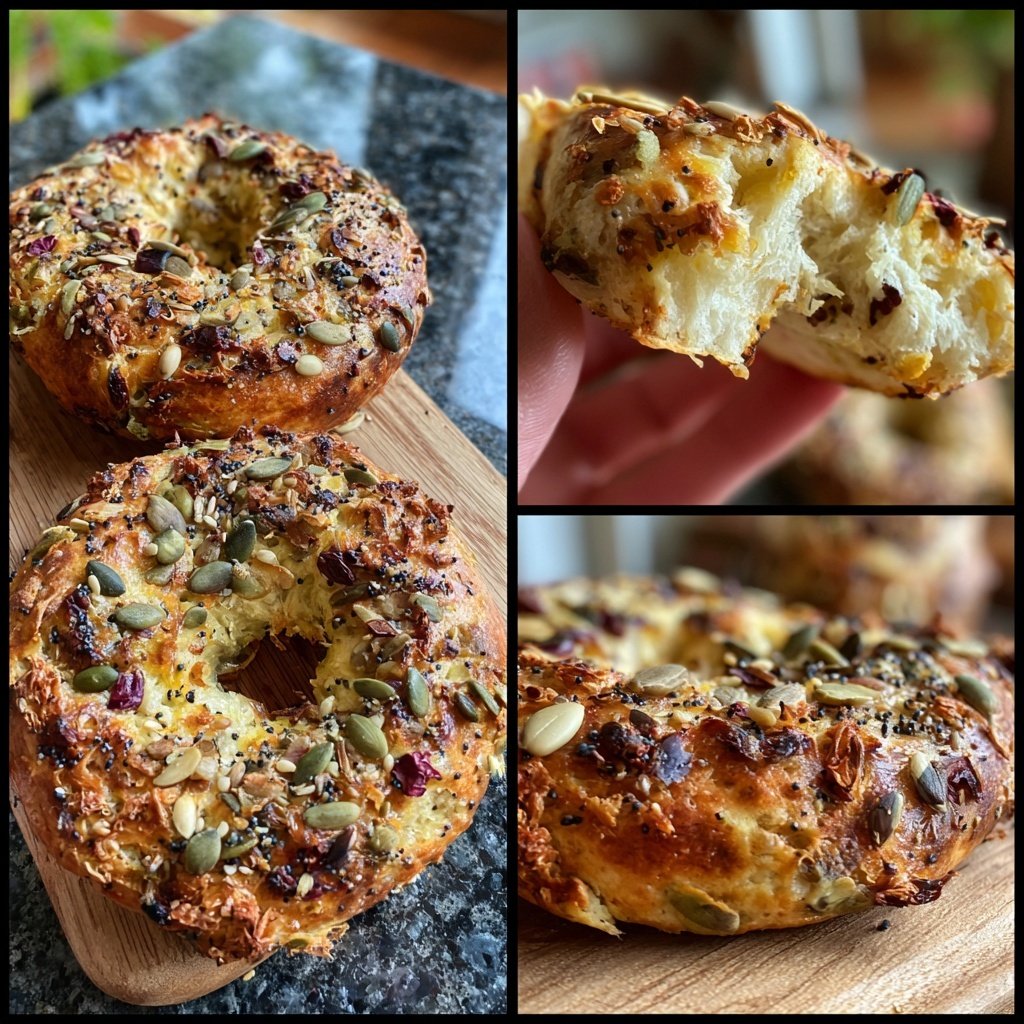
No Boil Yogurt Protein Bagels
I absolutely love making these No Boil Yogurt Protein Bagels at home! They are quick to whip up and incredibly satisfying, offering a delightful texture and a protein boost that…
Welcome to RecipesEdge, where every recipe is crafted with love and simplicity in mind. Our goal is to empower home cooks of all skill levels to create memorable meals for family and friends.
I absolutely love making these No Boil Yogurt Protein Bagels at home! They are quick to whip up and incredibly satisfying, offering a delightful texture and a protein boost that…

I absolutely adore this Sparkling Strawberry Spring Drink! It’s refreshing and light, making it perfect for spring gatherings or a simple afternoon treat. The combination of fresh strawberries and bubbly…
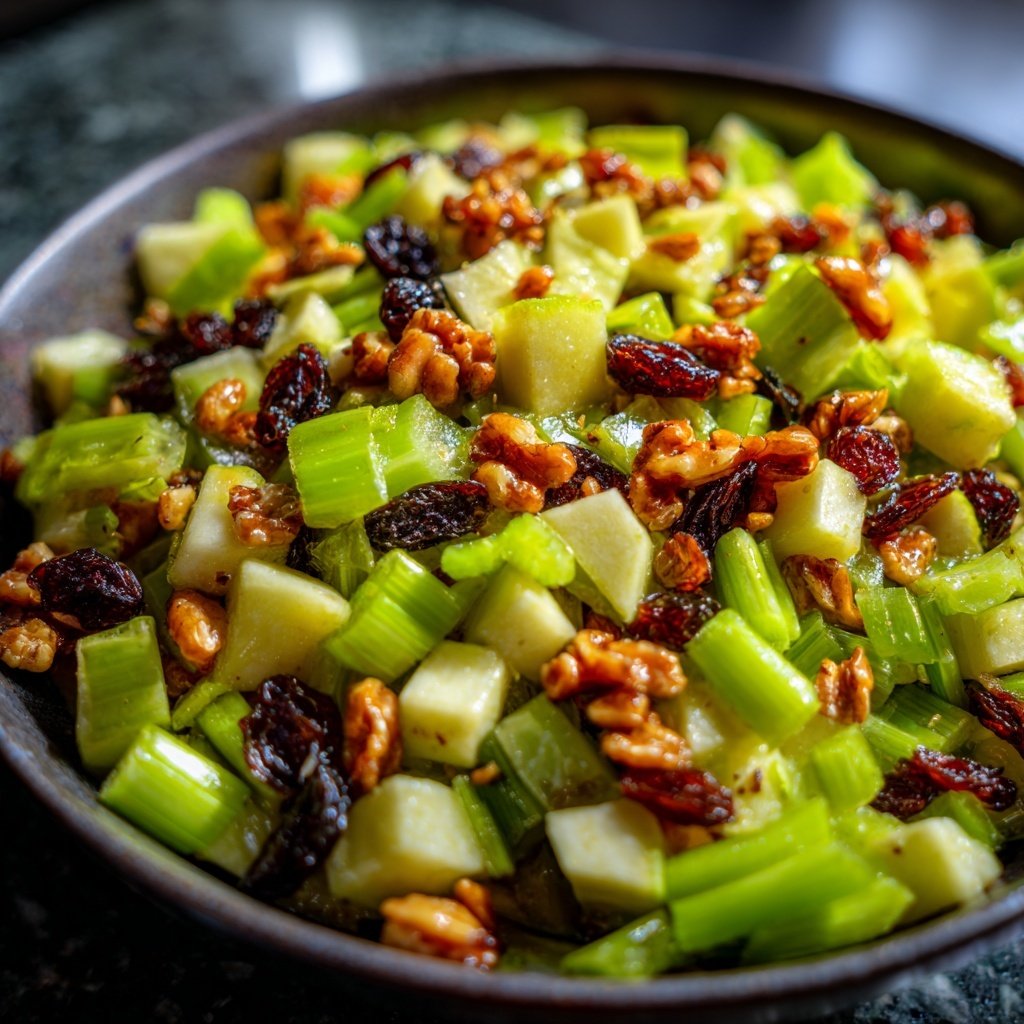
I love making this Celery Apple Raisin Salad because it’s such a refreshing and crisp addition to any meal. The crunchiness of the celery complements the sweetness of the apples…
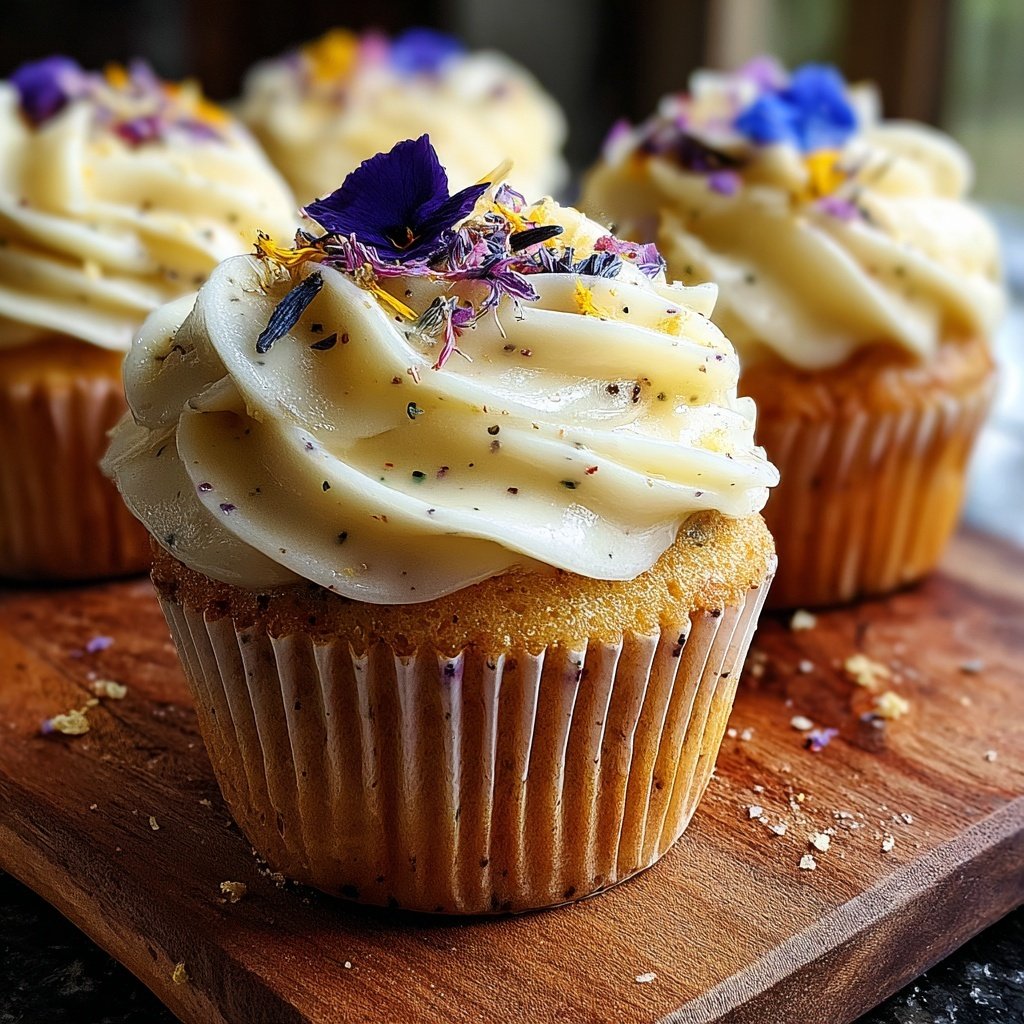
When I first baked these Soft Vanilla Bean Tea Cupcakes, I was amazed by their delicate flavor and fluffy texture. Combining the richness of vanilla beans with the elegance of…
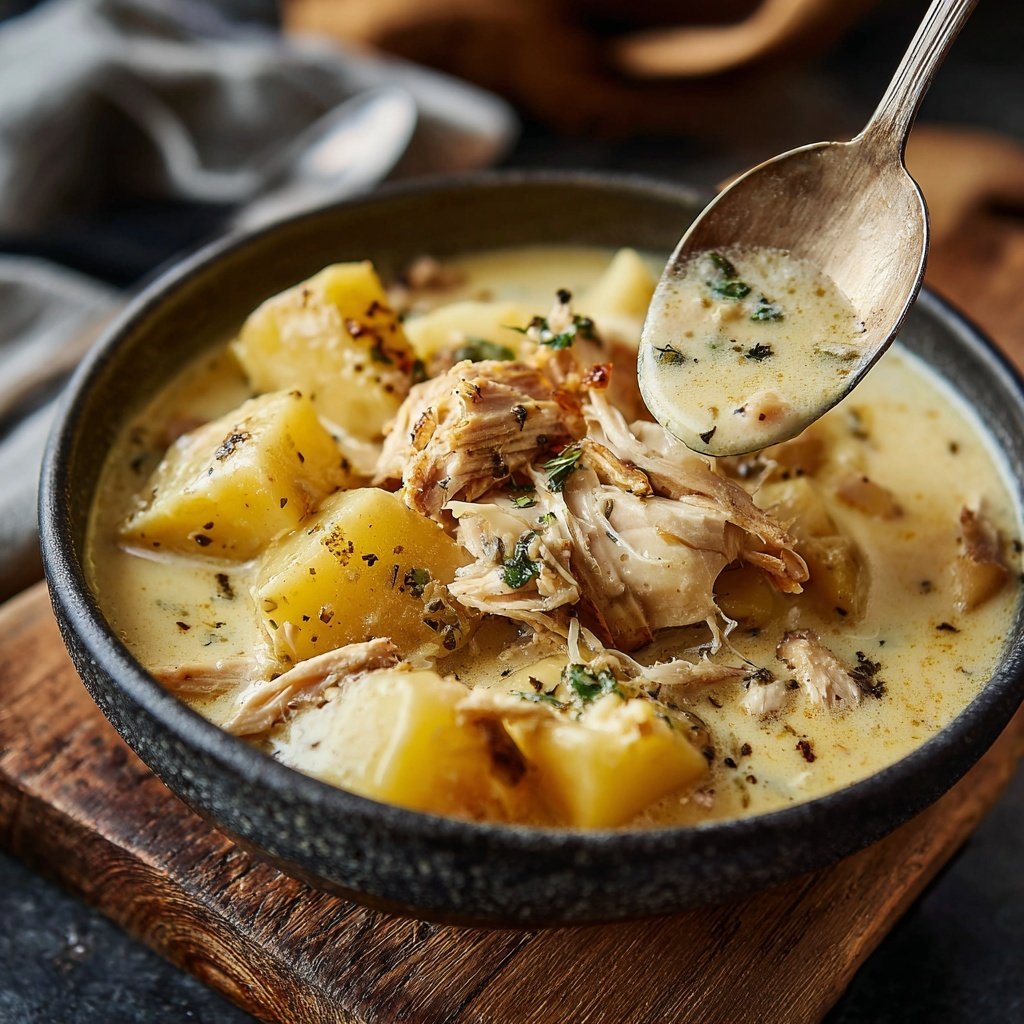
I absolutely love making Creamy Potato Chicken Chowder on chilly evenings. Nothing warms me up quite like this delectable and hearty dish. The combination of tender chicken, creamy potatoes, and…
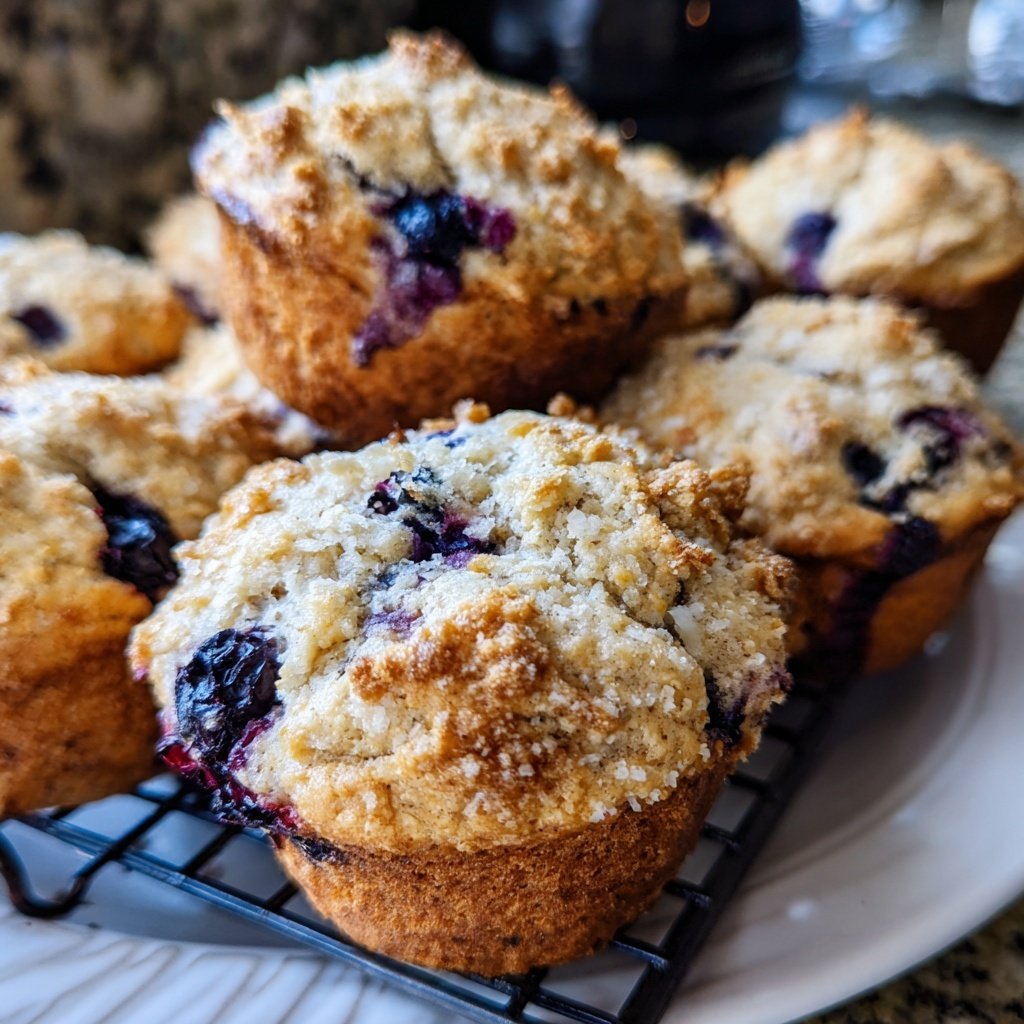
I absolutely love starting my day with these Blueberry Breakfast Muffins. They are bursting with juicy blueberries and have a wonderful light and fluffy texture that makes each bite a…
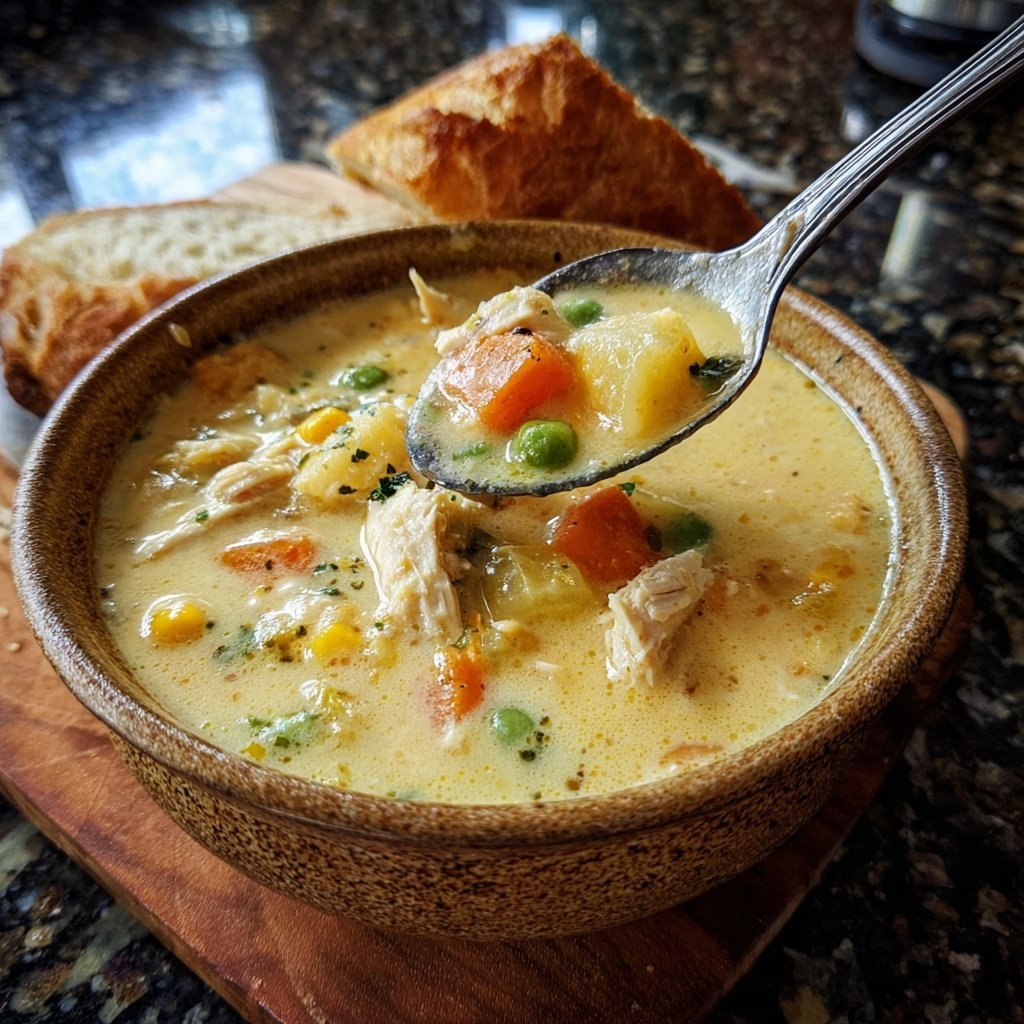
I absolutely love making this Creamy Chicken and Vegetable Soup on a chilly day! The rich flavors of tender chicken combined with fresh vegetables create a heartwarming dish that my…
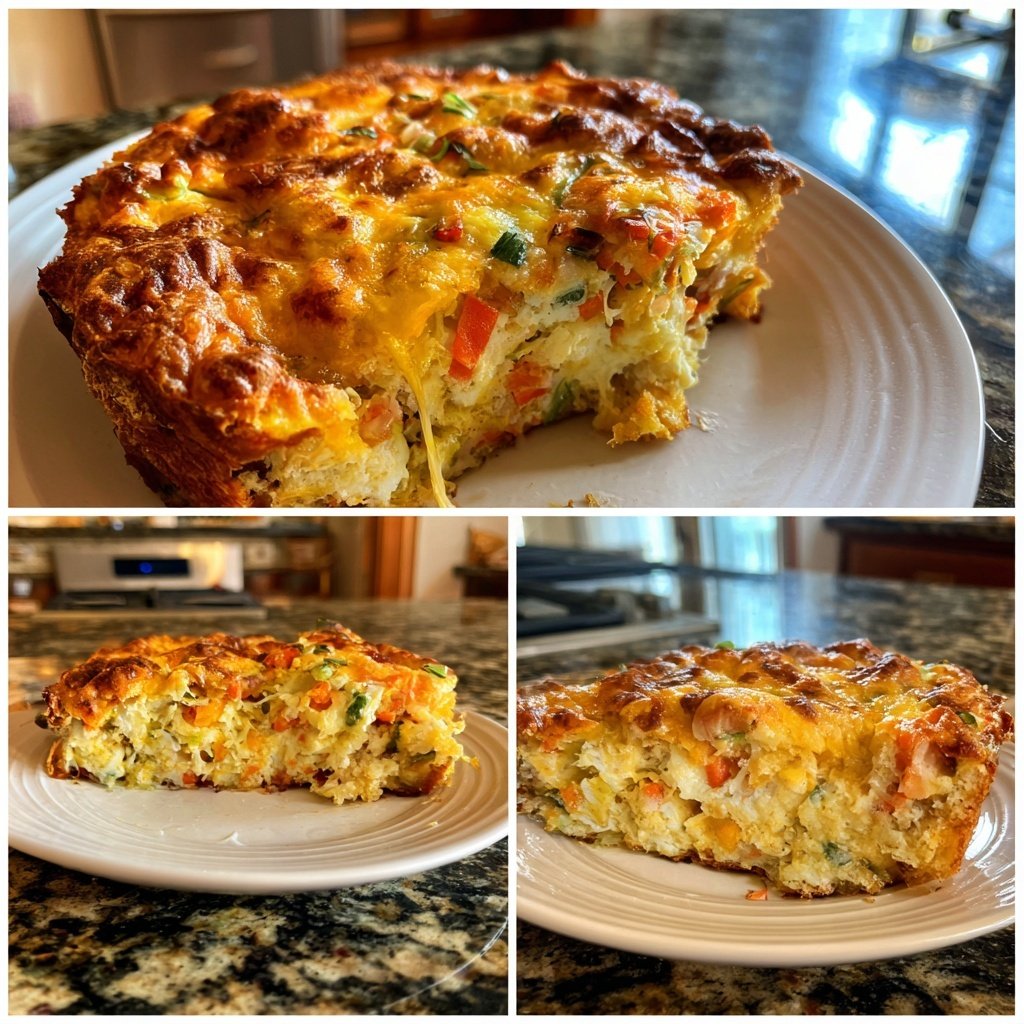
I love starting my day with a hearty breakfast, and this Breakfast Casserole with Eggs and Cheese never disappoints. It’s a delightful blend of creamy eggs, melty cheese, and whatever…
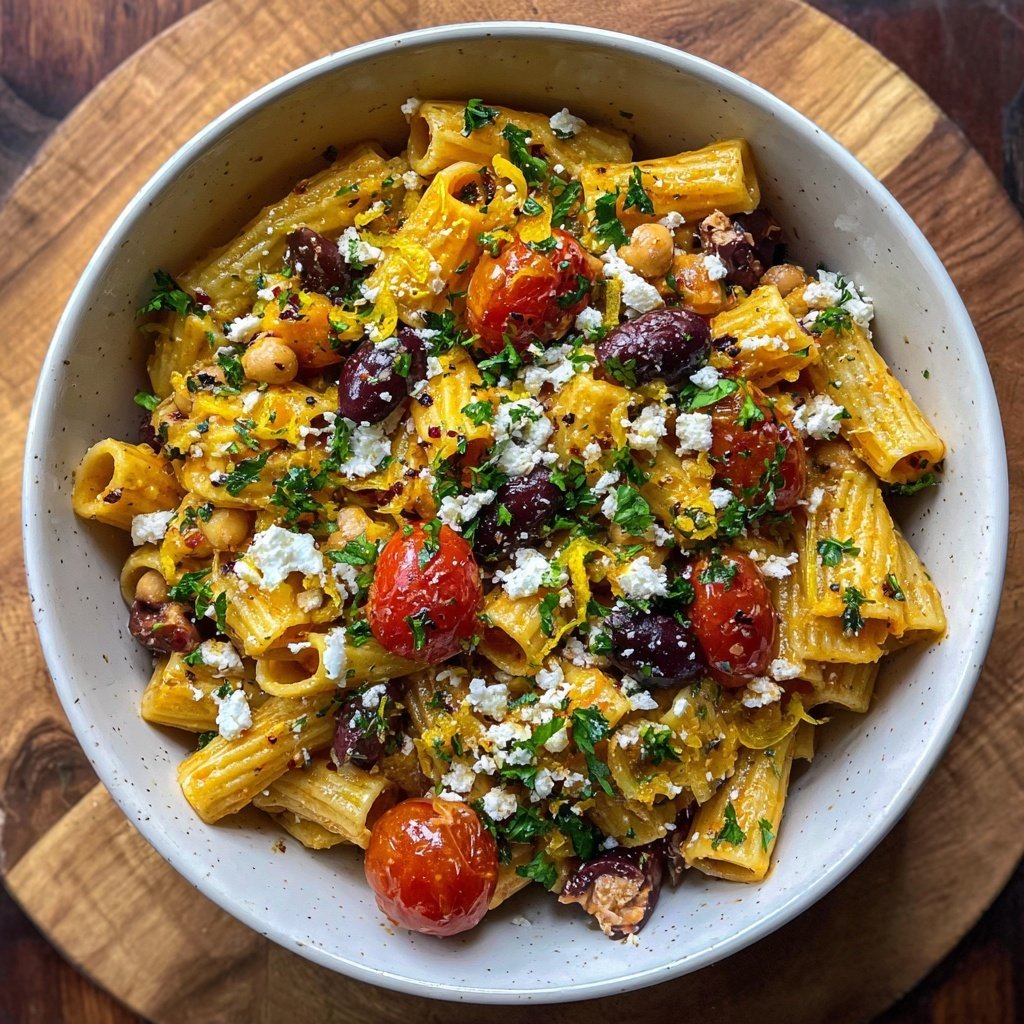
I love how quick and satisfying this Mediterranean Chickpea Pasta is to prepare. It's not just a meal; it's an adventure in every bite! The combination of hearty chickpeas and…
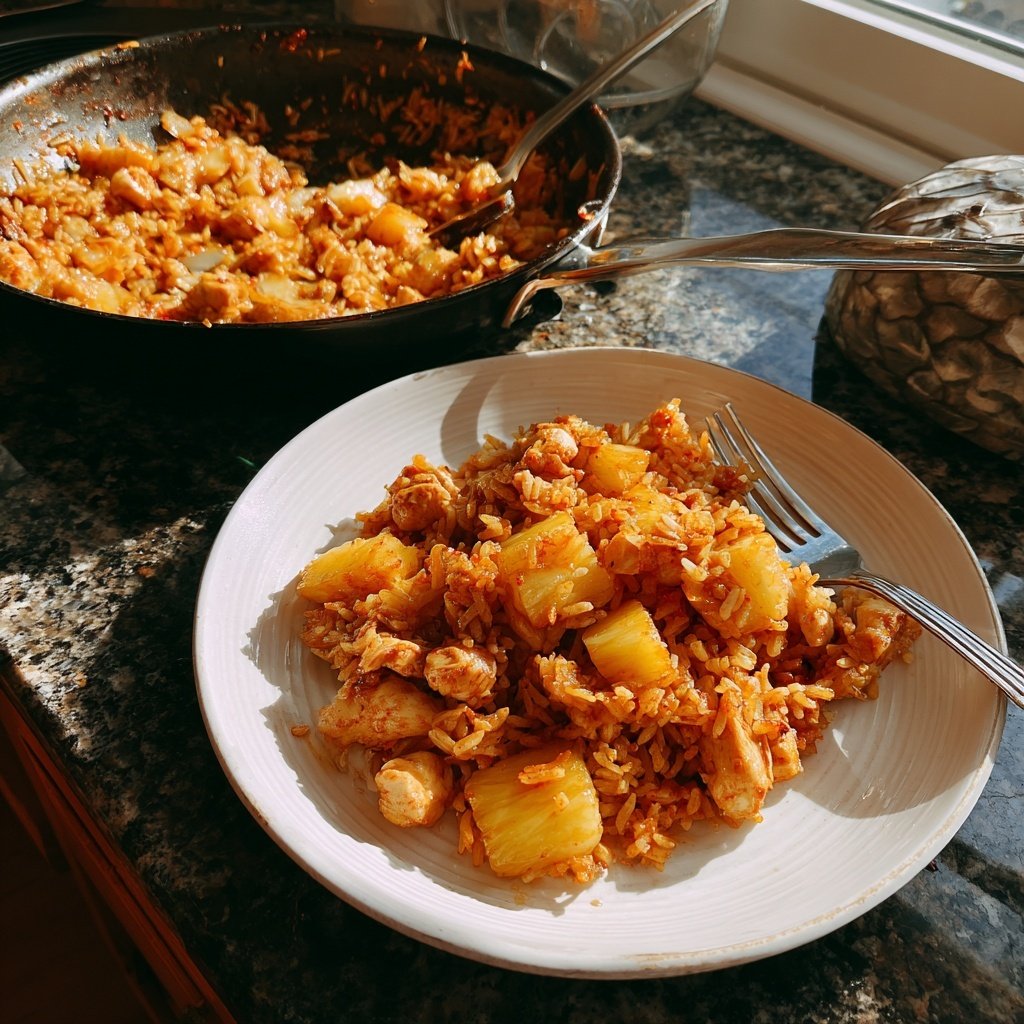
I love creating meal prep recipes that are not only tasty but also help me stay organized throughout the week. This Pineapple Chicken Rice Meal Prep is a beautiful blend…
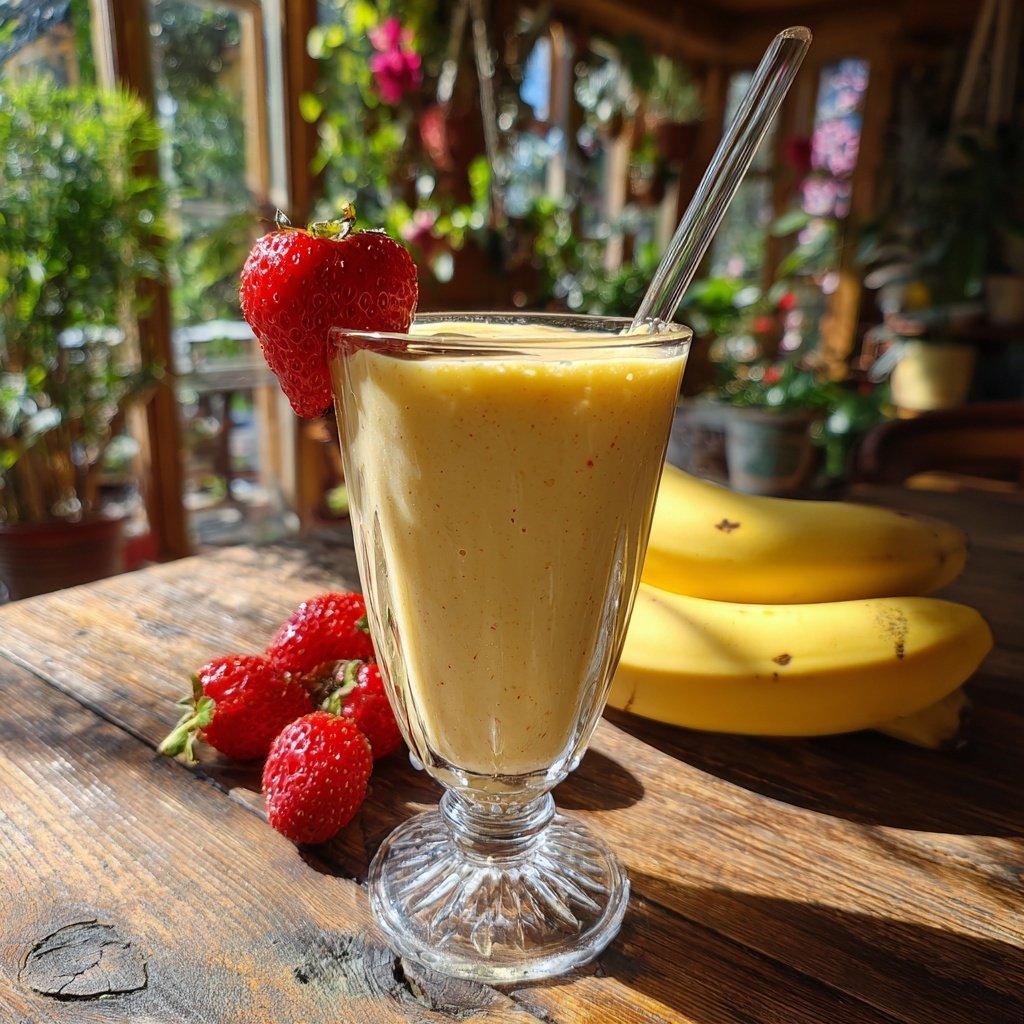
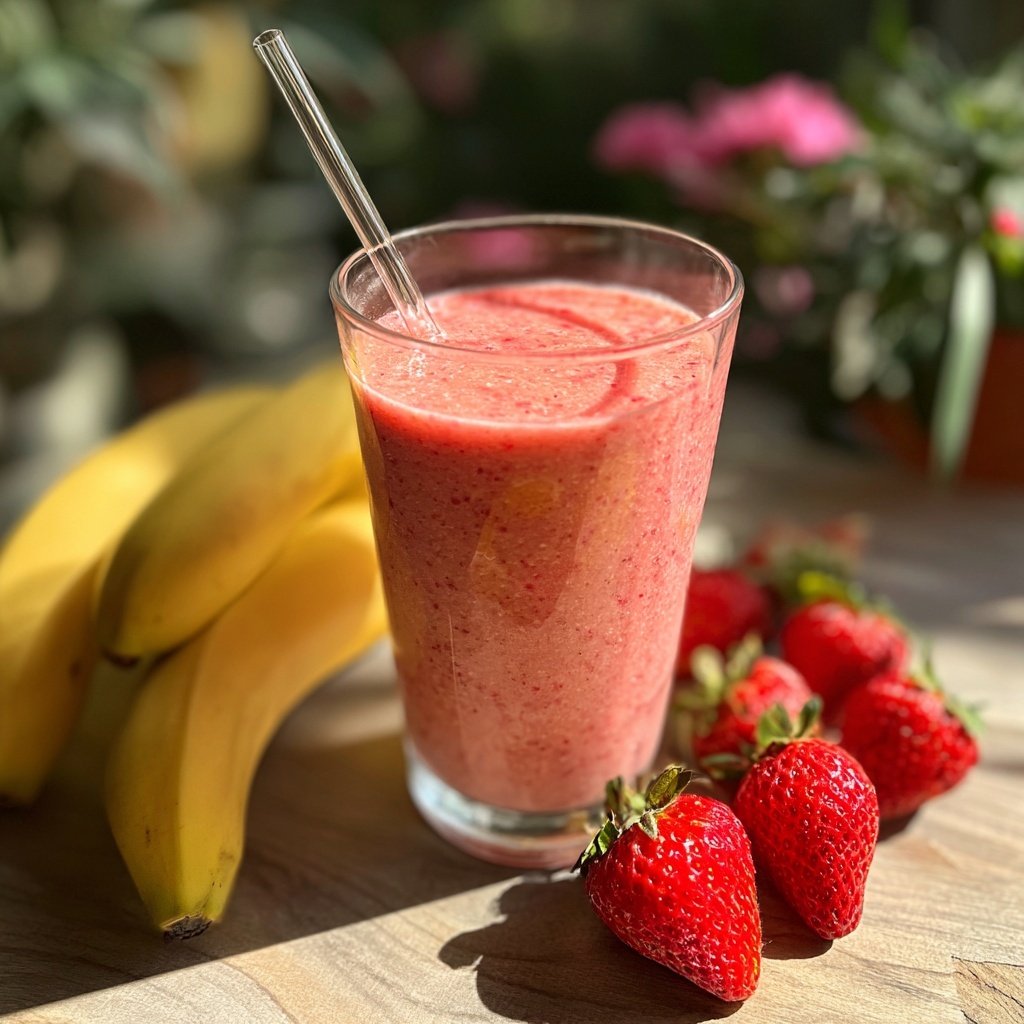
I absolutely love starting my morning with a refreshing Berry Banana Breakfast Smoothie! Combining the sweetness of ripe bananas with the tartness of mixed berries not only gives me a…
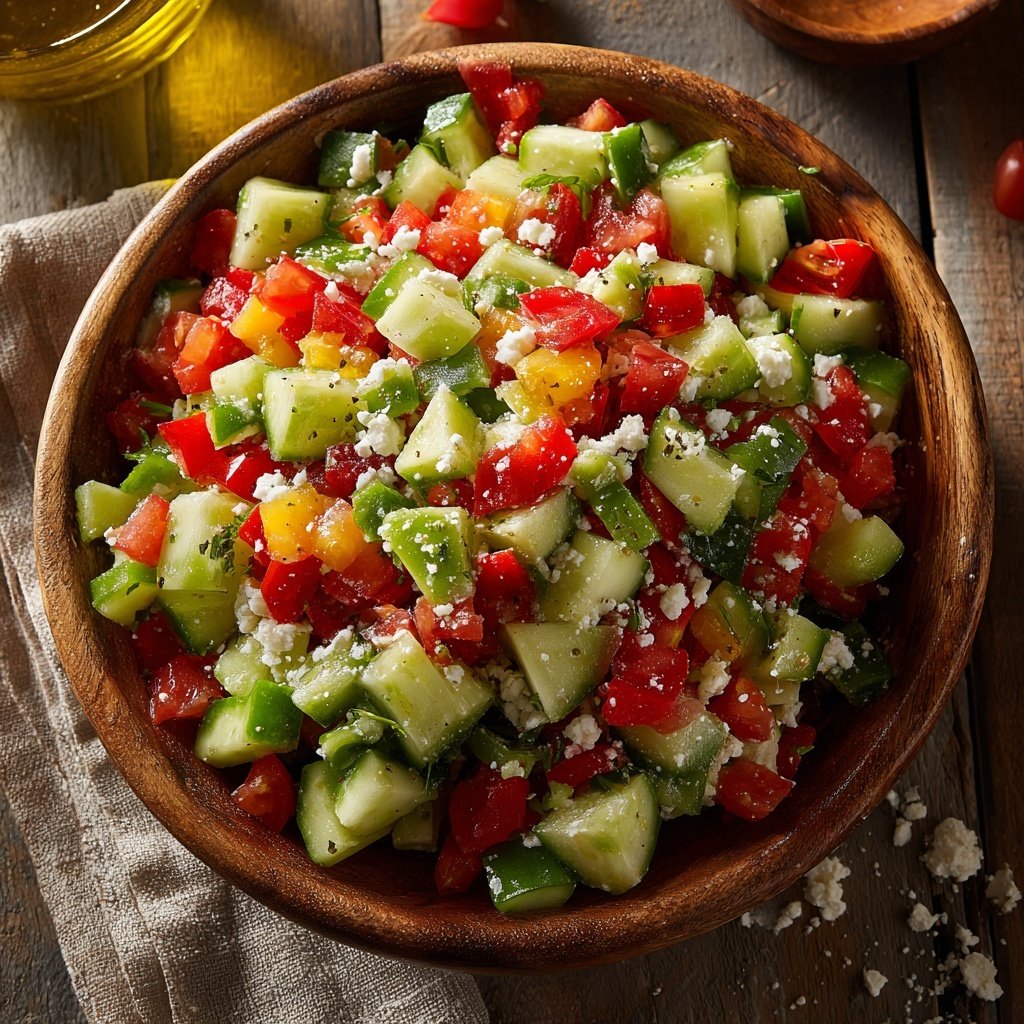
I absolutely love this Celery Cucumber Crunch Salad! It’s refreshing, full of textures, and provides a perfect balance of crunch that can brighten any meal. Whenever I toss this salad…